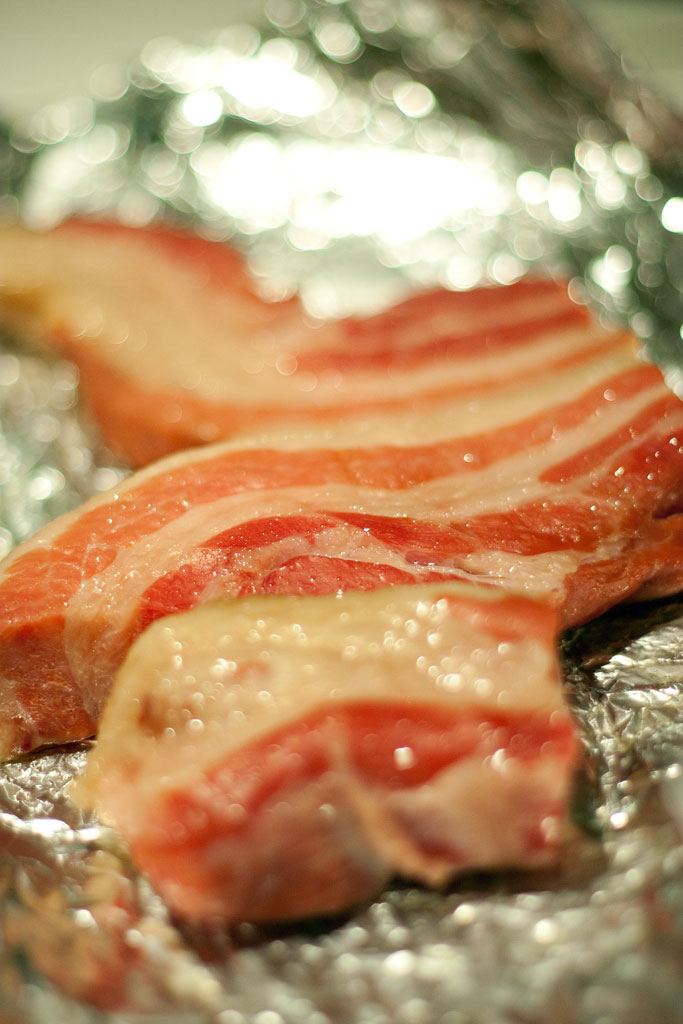
Pork belly, not an easy thing to find around this neighbourhood. you can either go to a real butcher, and there aren’t that many out there that would sell this, so do your research before wasting your time. you can also get it online, but that isnt as exciting. You wanna know what’s even more exciting? Starting your DIY bacon project right now.


Making bacon is a 2 step process, first you have to “wet” cure it, and then you have to slow cook it (smoke it) to dry it even further and develop more flavor. I didn’t smoke mine. I will try that later, I dont have a smoker and smoking in my oven… not ready for that yet!
1 lb of pork belly (You can easily scale up this recipe)
Dry Cure:
12g sea salt
9g brown sugar
3g pink curing salt
0.5g black pepper corns.
0.5g coriander seeds, toasted, ground.
2 cloves crushed.
3 juniper berries, crushed.
Herbs I like:
8 marjoram springs
or
2 tbsp minced rosemary
2 tbsp minced parsley
So how much pink salt is good enough… which isn’t a bad question since pink salt needs to be handled with caution. Well, I’ve based my percentages on a recipe that appears on the Modernist Cuisine Kitchen Manual, page 107.
For every 100g of meat: use 0.6g of pink salt.
For every 100g of meat: use 2.5g of salt.
One more note: Insta Cure #1 and D.Q. Curing pink salt are the same thing, same concentration.
Insta Cure #2 contains nitrates and is ONLY used for dry curing over long periods of time.

Ok, pink curing salt is a blend of about 94% table salt and 6% sodium nitrite which although not a healthy thing to eat at high concentrations, the concentration in this brine is so low that is virtually harmless and what it does is inhibiting the growth of bacteria (botulism) which is the purpose of curing to begin with.

now mix all the ingredients and rub away. I used a food processor to mix everything up. then I threw the pork belly in a ziplock bag and with my hand rub the paste all over it. minimal mess.

this pork belly piece is ready to be sealed. I partially submerged the bag in a pot filled with cold water to get most of the air out of the bag and I zipped the bag. it will be 7 days before this is cured. every day, turn the bag over, to ensure even curing.

7 days and after many turns this is what I ended up with. By the way, I didn’t use the ziplock bag, instead I wrapped the belly in cheesecloth with seem to have worked amazingly well. This thing smells so good. Now we have to clean it up and get it ready for the oven.

Here it is after cleanup, really good color and scent. I should have removed the rind… or not…

Here it is after 3 hours at 200f in the oven, a bit toasty on the outside, very nice and pink in the inside, ready.

after vacuum sealing:

done.

Wanna get more sous-vide cooking guides and cool cooking how-to’s in your mailbox? You know what needs to be done!
We never spam. You should only be getting updates when new content is posted on the site. We also respect your privacy. We don’t share your email address with anyone and you can unsubscribe anytime!


6 comments
Reblogged this on that other cooking blog and commented:
I’ve updated this posting with more precise information on the cure mix itself. enjoy!
Nice! Pork belly is very easy to buy around here. I would be interested to make my own pancetta, but that means dry curing and that is hard to do. This looks great though, thanks for sharing!
Yeah, dry curing is a a trickier business. I’ve been toying with the idea of making my own curing “chamber”, modifying a wine cooler to control temp and humidity. Would love to make cured hams like serrano. Thanks for checking in Stefan!