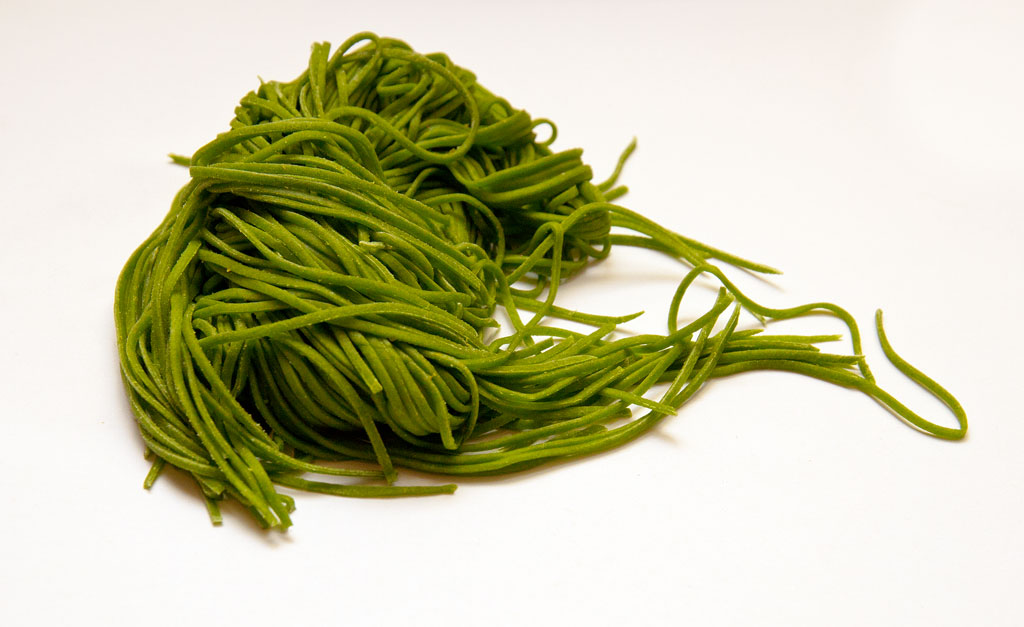
It’s been a few days since my last post, things are crazy at work and finally I find myself with some free time during this holiday break to get back into it (Pasta 101 is a good place to start). So, I was really wanting to continue making fresh pasta, I have 3 flavors I want to make this weekend, spinach (featured in this post), squid ink (yes… don’t be afraid) and saffron. I don’t like spinach pasta from the supermarket, tastes of nothing like spinach, bland and boring but I really like spinach and pasta, mixing the two by making my own solved this problem. It was delicious. Adding lemon zest and juice plays really nicely with the mildly bitter taste of baby spinach. Once cooked, adding some olive oil and some parmesan cheese shavings is all that’s really needed to enjoy this simple dish.
Tools:
There are plenty of ways of making pasta, I’ll stick to what I used, but hands and a rolling pin can do the magic…this is how it has been done for hundreds of years anyways.
Stand Mixer
Pasta Machine (with pasta cutter attachment)
Blender
Stock Pot
Stove, one burner.
Strainer
Cheese Cloth
Work Surface (to lay dough to partially dry before cutting)
Dehydrator (to fully dry, although can just be left to dry)
Ingredients:
200g baby spinach wilted and rinsed
350g “OO” flour
2 eggs
2 tsp lemon zes
2 tbsp lemon juice
2 tsp extra virgin oliv e oil
Method:
Stock pot with boiling water, cook spinach for 2 mins
Strain spinach.
Using cheese cloth, drain most of the water from the spinach.
Place spinach, lemon juice, lemon zest, and eggs in blender, blend until smooth, 2 minutes.
Place flour and spinach mix in the bowl of the stand mixer
Mix until silky and shiny. About 5 minutes, adjust flour or water if needed. Use teaspoons of them.
Gluten should be developed, dough should be malleable.
Let dough rest for 15-20 minutes until it relaxes.
Separate dough into smaller balls.
Flatten them with your fingers or with a rolling pin (i used my fingers)
Use the pasta machine to roll out the dough.
Place dough sheets on a surface and allow to dry for 10-20 minutes before cutting.
Cut and lay individual strips on a surface and allow to dry for another 10-20 minutes before making nests.
Place nests in dehydrator until fully dry.
Tip:
To avoid the pasta nests sticking, make sure to give the noodles enough time to dry before braiding. Also, be generous with flour/cornmeal/cornstarch to the noodles to make sure they never stick. Once the nests are dry, tap them to remove the excess powder. If you braid the nests too early, and the pasta still to moist, they will blend together and when thrown in the boiling water, they will just become one sticky mess.
done.
Wanna get more sous-vide cooking guides and cool cooking how-to’s in your mailbox? You know what needs to be done!
We never spam. You should only be getting updates when new content is posted on the site. We also respect your privacy. We don’t share your email address with anyone and you can unsubscribe anytime!


