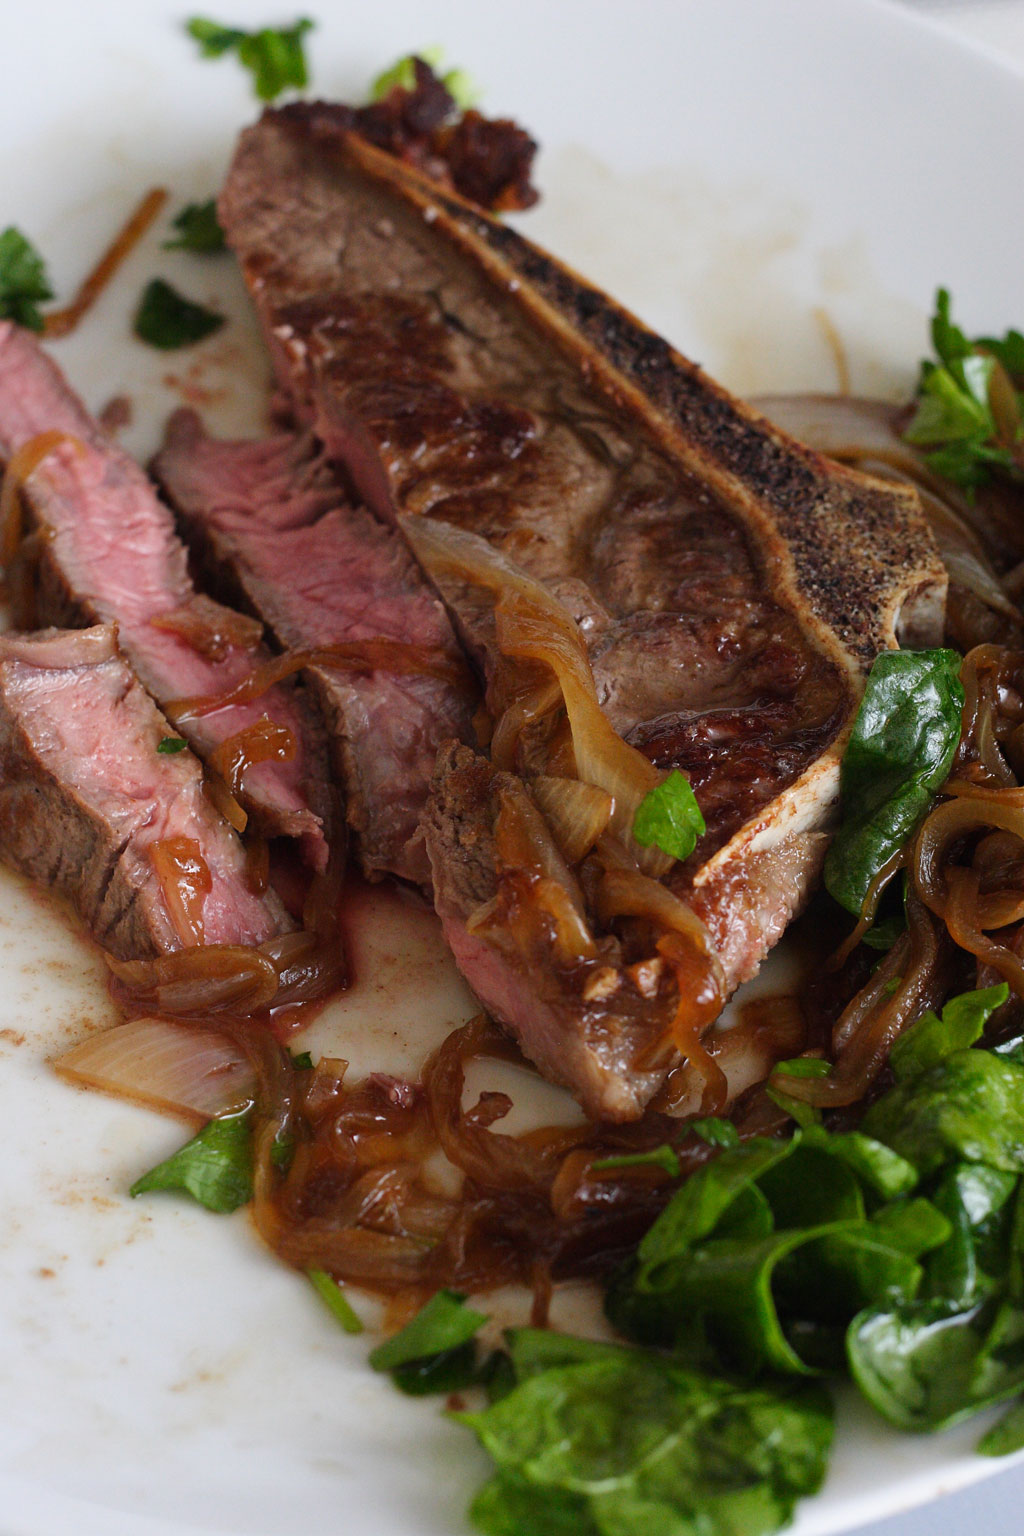
The luxury of having time to cook something nice in the kitchen, not that common nowadays, is it?, but quick dinners can still be made presentable and delicious. I will use this as an excuse to write about getting a steak dinner done in about 20 minutes and also talk about my experiences searing steak on a pan. I bought a new york steak on the way home (wish it had been a bit thicker, it also included the bone), I had some baby spinach in the fridge, and an onion that was ready to be cooked , literally, another day and it would have been too late for the poor little guy. Cooking a steak can be easy, once you understand a few things and follow a few steps. If your steak is frozen, thaw it overnight and come back to this post when ready! Defrosting a steak will take a lot of time and please don’t use the microwave for this, unless you don’t care about partially boiling the meat and ruining an expensive cut, at least that’s happened to me every time I did this in the past, maybe microwaves got smarter at defrosting but I doubt it. Ok, let’s assume our steak is cold from a fridge, here are the things to keep in mind when searing a steak properly:
1. Room temperature meat cooks great. A steak cold out of the fridge will present way too many challenges to get it cooked correctly but it isn’t the end of the world. You have at least 3 good options: Let it sit at room temperature for 20-30 minutes, but that’s already longer than what I’m proposing a quick dinner should take. Submerge the steak in warm water (about 114 °F but not hotter), this will speed up warming it dramatically, say 5-7 minutes (you can prep everything else while you wait), remember to pat the steak dry with a kitchen towel. The last option could be doing what I did, stick it in the microwave and nuke it for about 30 secs, if still cold, nuke it another 30 secs, that should be enough. 1 minute, plus time resting while you prep will get it there. This approach will not cook the meat in the MW, just warm it up a enough. Allow for a minute between nuke sessions.
2. HOT pan is CRUCIAL, boiled steak might seem yummy to some, I’m sure not so for most. If the steak hits the pan (don’t throw it, layer it away from you into the pan, so the oil spatters away from your delicate skin) and the sound of loud sizzling is missing, don’t waste your steak or your time, remove it, and let the pan get hotter. To test if your pan is hot enough, 3 ways to do it, place the palm of your hand over the pan about an inch away from it, you shouldn’t be able to stand the heat for more than a few seconds. Oil just began to smoke, which isn’t the best way to determine temperature, smoking points of different oils will also be different, but if you don’t have a choice… I guess. Or buy an infrared thermometer and measure the temperature, should well above 400 °F to guarantee a good sear.
3. Dry steak is overcooked steak… who likes eating a dry steak? actually, this isn’t all that rare (no pun intended) lots of people prefer the safety of a steak well done, some people don’t like blood in their food, understandable, but cooks would prefer you’d prefer a rare or medium rare steak if tender cuts like top sirloin, tenderloin, etc are the case. The tenderness of those cuts can really be enjoyed by cooking them just long enough. Usually a few minutes (2-3) on a hot searing pan per side. If the cut is thick (about an inch or thicker), then finish in the oven at 350°F for so for 2-5 minutes. If you don’t trust your instincts, there’s always the all mighty probe thermometer, and plenty of resources about cooking temperatures and degrees of doneness. Another good indicator that your steak is ready to be flipped is blood pooling at the surface. NY steak medium rare should be about 130°F at the core.
4. Get to know carry over heat, that’s basically one way of saying, food keeps on cooking for a little longer after it has left the pan. So, say you are a few degrees under your desired doneness level, remove from the pan, carry over heat will finish the job for you. I’m sure there are some fancy techniques and equations to model the heat distribution/diffusion over any steak of any size and fat content, but nothing more reliable than common sense and repetition until flipping a steak on a hot pan becomes second nature.
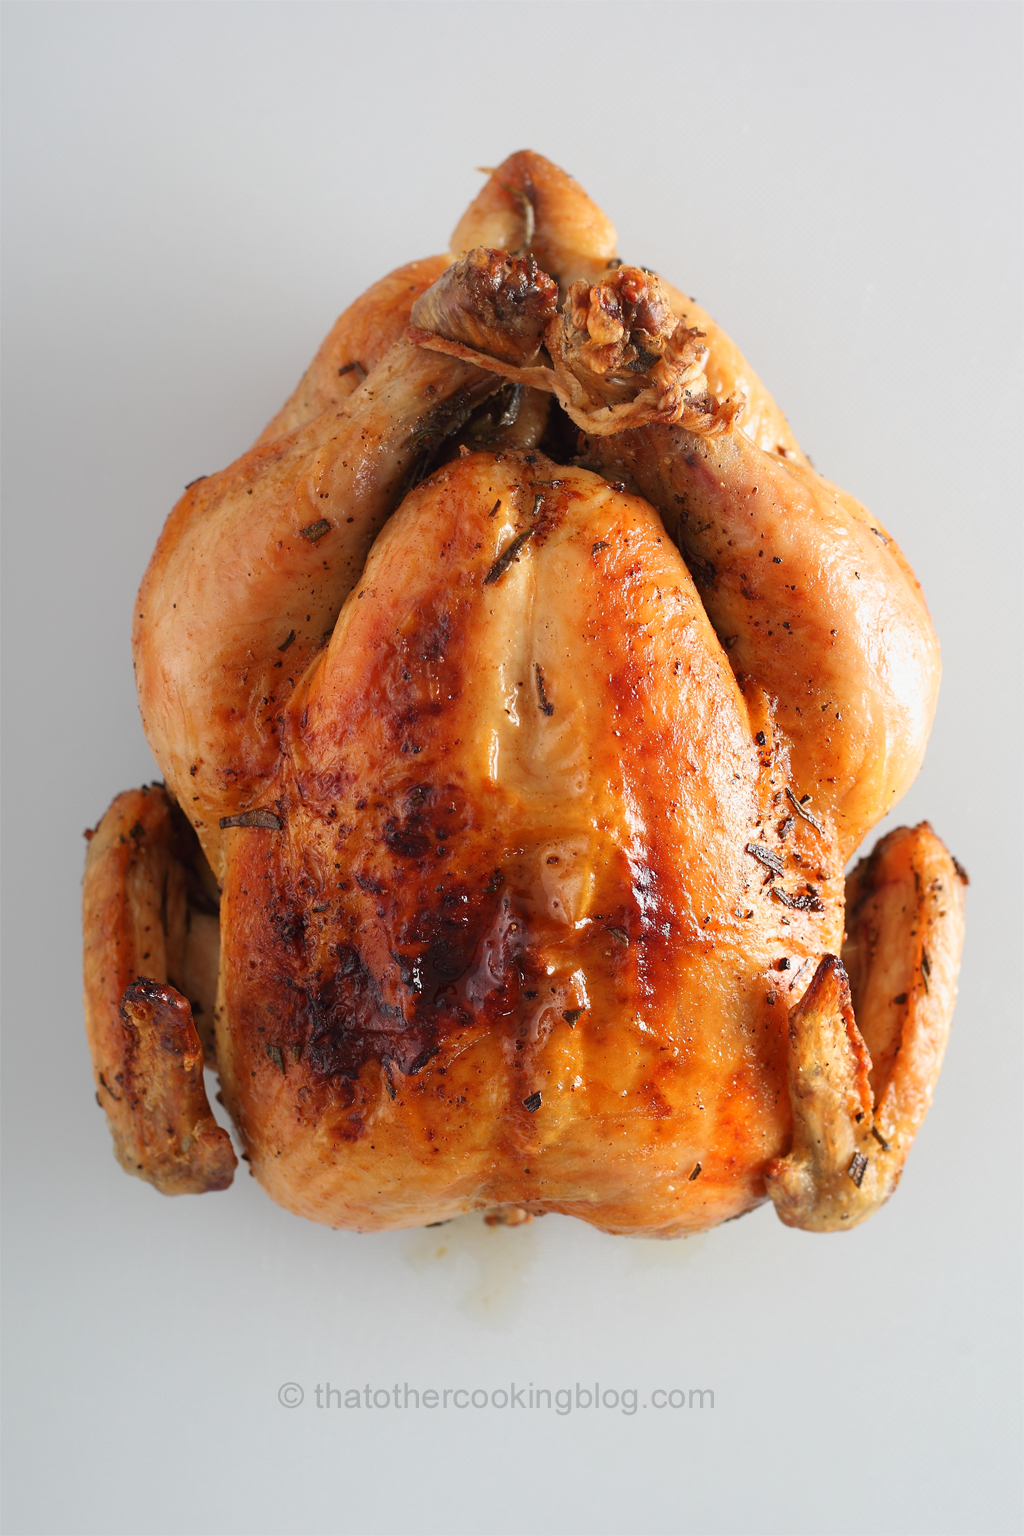
5. Allow cooked meat to rest… resting cooked protein is a KEY step. Muscle fibers subjected to heat contract but relax after some time. The meat will not be tender until the it gets a little colder. Also, these contracted muscle fibers will make the meat release juices, water, blood, all of which are delicious, but probably not so visually appealing. Resting the meat on a plate before serving is a great way of preserving those tasty juices without ruining your plating skills. The normal resting time for a cooked portion of meat? it all depends on the fat content of the meat, fattier cuts will remain hotter longer. Fat traps heat more efficiently, that’s why we use oil to sear steak and not water. A good guess for resting time would be to let the meat rest for at least 30%-40% of the time it took cook. But I like using a thermometer and not letting meat go to room temperature before serving, that’s a bit too cold for my taste. In the case of our steak, if it took 6 minutes total in the pan, allow to rest for about 3 minutes before carving or serving. Imagine the case of a roasted chicken, about an hour, allow to cool for about 18 minutes, sounds about right. I would still trust instincts and a thermometer better.
6. Seasoning of the meat… I’ve read about this plenty of times, and I don’t think there is a final resolution on the matter. Adding salt to anything drives water out, do we want our meat to be wet on the outside before searing? nope, but do we want our meat to be seasoned while it cooks? well yes! Salt and meat under heat will undergo some amazing chemical transformations while the maillard reaction takes place. I stand in the middle regarding seasoning and when, I season my steaks right before they go in the hot pan so there is not enough water to be drawn to the outside of the meat. And I season them well… probably more than it might seem necessary. Most of the seasoning will leave the meat and go in the pan when the meat starts to release it own juices due the heat firming up the muscle fibers.
6. Smoke point of oils… extremely useful information when searing stuff on a really hot pan. Burnt oil will taste of burnt oil and there’s no undoing this, if you burn the oil and then cook with it, your food will taste bad. Simple as that. Rancid. There are so many cooking oils on the market these days, each with its own healthy properties or whatever, which matters as a cook, but 2 variables that we want to get pretty familiar with are, flavor of the oil and smoke point of the oil. From very flavorful to very neutral, from virgin oils to super refined, tons of stuff to read and test. At home I use grapeseed oil because of its high smoke point and its flavor is very neutral. Check smoke point on wikipedia.
8. Sear the fat strip on the steak if there’s one, grab your tongs and make sure that that strip of fat is nicely seared, if the steak is too thick, this strip of fat won’t get enough heat from the pan to get cooked, eating raw fat isn’t really that pleasant, and cooked fat will impart a better flavor to your steak. If the steak is thin enough, less than an inch, you’re ok just letting the pan cook it without having to do what I just mentioned above. You can trim the fat after it’s cooked, it’s served its purpose already, and its flavor now forms part of the steak and the juices in the pan.
9. What pan to use…. very important bit of information I almost left out. I have seared steaks in whatever pan I’ve had available at the time, and although the results varied in quality, I ended up one way or another with a seared steak. The easiest time I have had searing a steak is when I used cast iron pans, those heavy black pans are by far the best thing ever invented for searing and they will outlive the owner. Perfect for fond to form and they deglace easily. Using stainless steel pans is another good alternative, but more pricey, and you don’t want to go to cheap on one of these, you might end up with some inefficient bottoms, weird alloys that burn food, hot spots, even rust, so get something that isn’t too good a price to be true. Non-stick … if you wanna get serious about searing meat, stay away from these. They will sear your meat, but their surface doesn’t get that hot, and no brown bits get stuck at the bottom from which a quick pan sauce could be made, so I long ago moved on and as much as I like how easy to clean they are, the finish on the meat isn’t great, plus they can’t go in the oven.
So there it is, when cooking steaks the traditional way, by applying heat to a searing pan, these are probably good points to keep in mind. When cooking steak sous vide things are a bit different but the core concepts like doneness temperatures, and searing techniques remain very similar. Let’s talk about the rest of the meal! Caramelized onions and a simple baby spinach salad with a champagne vinegar and olive oil vinaigrette.

Ingredients:
Steak (method covered above) 6-7 mins:
NY steak, about 200g
some vegetable oil for searing
some lemmon juice for finishing
Salt and Pepper to taste
finely chopped parsley for garnishing
garlic clove hole, let it roast in pan and remove when golden
Caramelized onions (read below) 7-8 mins:
Half an onion, julienned
Steak juices after resting
Salt and Pepper to taste
2-3 tbs granulated sugar
splash of vermouth
Baby Spinach Salad (mix everything before eating) 3 mins:
About 150g of baby spinach
splash of champagne vinager
splash of extra virgin olive oil
Salt and Pepper to taste (maldon or fleur de sel if you have it)

On caramelizing onions fast:
1. Up the ph level (I didn’t do this on this occasion but have in the past) by adding a tiny quantity of baking soda to your onions, a tsp is fine.By raising the ph level, the chemicals reactions involved in browning are sped up, resulting in quicker cooking times. Ever wonder how they get that nice deep brown crust on pretzels? same concept. Lye or Baking soda are used (at a very low concentration) for the same purpose, both alkaline agents.
2. Adding sugar helps brown the onions or anything you want to brown a lot quicker, sugar caramelizes at very high temperatures, and releasing energy/heat at a slower pace than even vegetable oils, helping browning. At least that’s what some preliminary and very rudimentary experiments I’ve done suggested. Please let me know if you have more specifics on this, I would really want to know more.
3. It’s hard to burn onions, they have so much water in them. Just cook on high heat with a good amount of oil, and keep stirring for a few minutes until they break down, the baking soda and sugar will help turn them to a caramel color rather fast, adding the steak juices and deglacing any brown bits stuck at the bottom will add depth and more color. Deglace before anything burns at the bottom, and add the steak juices towards the end of cooking, this way you aren’t adding moisture to the onions, that would slow down their caramelization.
4. One last thing, if you julienne the onions very thin, that will help them brown as well, surface area comes into play, they will lose water faster, which helps tremendously with browning. The quicker water can be released, the quicker they can brown.
That’s how you can speed up onions caramelization and not spend 1 hour doing so. The addition of the juices the steak releases after resting back to the pan with the onions is also contributing to the nice deep color of the onions. A splash of vermouth to deglace the brown bits stuck at the bottom, reduce and done. Adjust seasoning, salt pepper to taste.
On flavor balancing:
Sugar + fats = I need a splash of something sour, lemon juice or vinegar or both! That plus the vermouth reduction helps cut through the otherwise greasy feel and makes for a nicer lighter mouthfeel, specially once I add back the sweet onions to the plate. Always keep in mind flavor balancing when cooking. Taste and adjust, eventually this becomes easier.

If you prep ahead and get organized, and overlap cooking steps when there are idle times, you can get this recipe done in about 20 minutes, including warming up the steak(s). All it takes is a bit of coordination, and getting your mise en place ready which should be extremely quick given the amount of ingredients and simple preparation required. Let me know how your next NY steak searing experience goes!!!!
Wanna get more sous-vide cooking guides and cool cooking how-to’s in your mailbox? You know what needs to be done!
We never spam. You should only be getting updates when new content is posted on the site. We also respect your privacy. We don’t share your email address with anyone and you can unsubscribe anytime!


18 comments
This is a great instructional post, Paul, one that I wish I had read years ago. Imagine all of the poorly cooked steaks that would have been saved. The one thing I never did, though, was to use the microwave to defrost anything and I cringe whenever I hear someone mention doing it. How could that dish ever turn out good?
John! yes! microwave ovens… they’re almost evil.. but perhaps misunderstood? In my post I totally advice against using them for defrosting.. I’m convinced that they are the wrong tool for the job and most likely ruin your steak. I do suggest using them to slightly raise the temperature of cold not-frozen meat by quick bursts of heating time. Every microwave is different and it is very hard to advice on how long to nuke anything for a period of time. I don’t know if this helps?
I’d recommend to use clarified butter instead of vegetable oil.
And it goes without saying that to anyone with sous-vide equipment I would recommend to cook the steak for 1 hour at 39.5C, 1 hour at 49.5C, and 3 hours at 54.5C before searing it 🙂 The warm aging technique works wonders.
Searing steak in clarified butter is delicious, I agree, although its smoke point is a bit lower than I would like for searing. I have cooked steak in clarified butter and a number of vegetables oils, and the choice depended on what I was looking for in the end or convenience. I love the buttery richer finish of ghee but sometimes, like in hispanic or spanish cuisine, a lighter more neutral flavor fat is preferred? I wouldn’t want to rule out vegetable oils as worthy options is what I’m saying. I love searing using duck fat too (not steak), but like clarified butter, lower smoke point and expensive.
The smoke point of homemade clarified butter (I don’t know about store-bought ghee) is about 250C/480F, which is higher than most oils. Also the flavor is quite light (I’m not talking about the browned variety, beurre noisette). What type of oil do you use? Clarified butter is definitely better than olive oil, which contains too much water.
yeah, I wouldn’t want to sear anything using olive oil, it burns easily, and once it burns the taste is dreadful. I’ve never bought ghee at the store, I have clarified my own butter at home when I needed it, but I think you’re correct about the smoke point, because I just googled it 😉 It burns at 480! I have to admit I was misinformed.
I always had trouble searing after sv, until I discovered clarified butter.
Yeah, makes sense, food is so wet you need hot hot hot. Have you tried avocado oil?
Great post! Full of great tip and useful information. I am thinking about creating a post for Wasabi marinated steak, Can I link to this post for tips on cooking steak?
absolutely 🙂 thank you!!! i want to marinate everything in wasabi btw hahaha
Paul, just posted the wasabi marinated steak recipe. Linking to your post for Steak grilling tips and instructions 🙂
i tried replying to this before but wordpress was having issues, thank you for linking my blog in your post, I really appreciate it!
You are very welcome! I am simply sharing a great post. (and save myself some work) 🙂
hahahah 🙂
Great tutorial! I have tried using my homemade clarified butter but it does get a bit too smokey for me. I actually prefer peanut oil to sear and like you said, finish in the oven. I love to put butter in my sauce though, butter makes everything better. Thanks for the wonderful tips, I didn’t know that about adding baking soda to the onions for caramelizing. I’ll certainly try that.
hey cheryl, thanks for the comment! you could get ghee at the store, definitely online. I sear most of the meat using grapeseed oil, which has a pretty decent high smoke point and it’s a bit healthier than butter. But who am i kidding, butter will end up in the meal one way or another… its so good! hahahh if you add baking soda, add just a tiny bit. It just requires a pinch and you’ll see the difference.