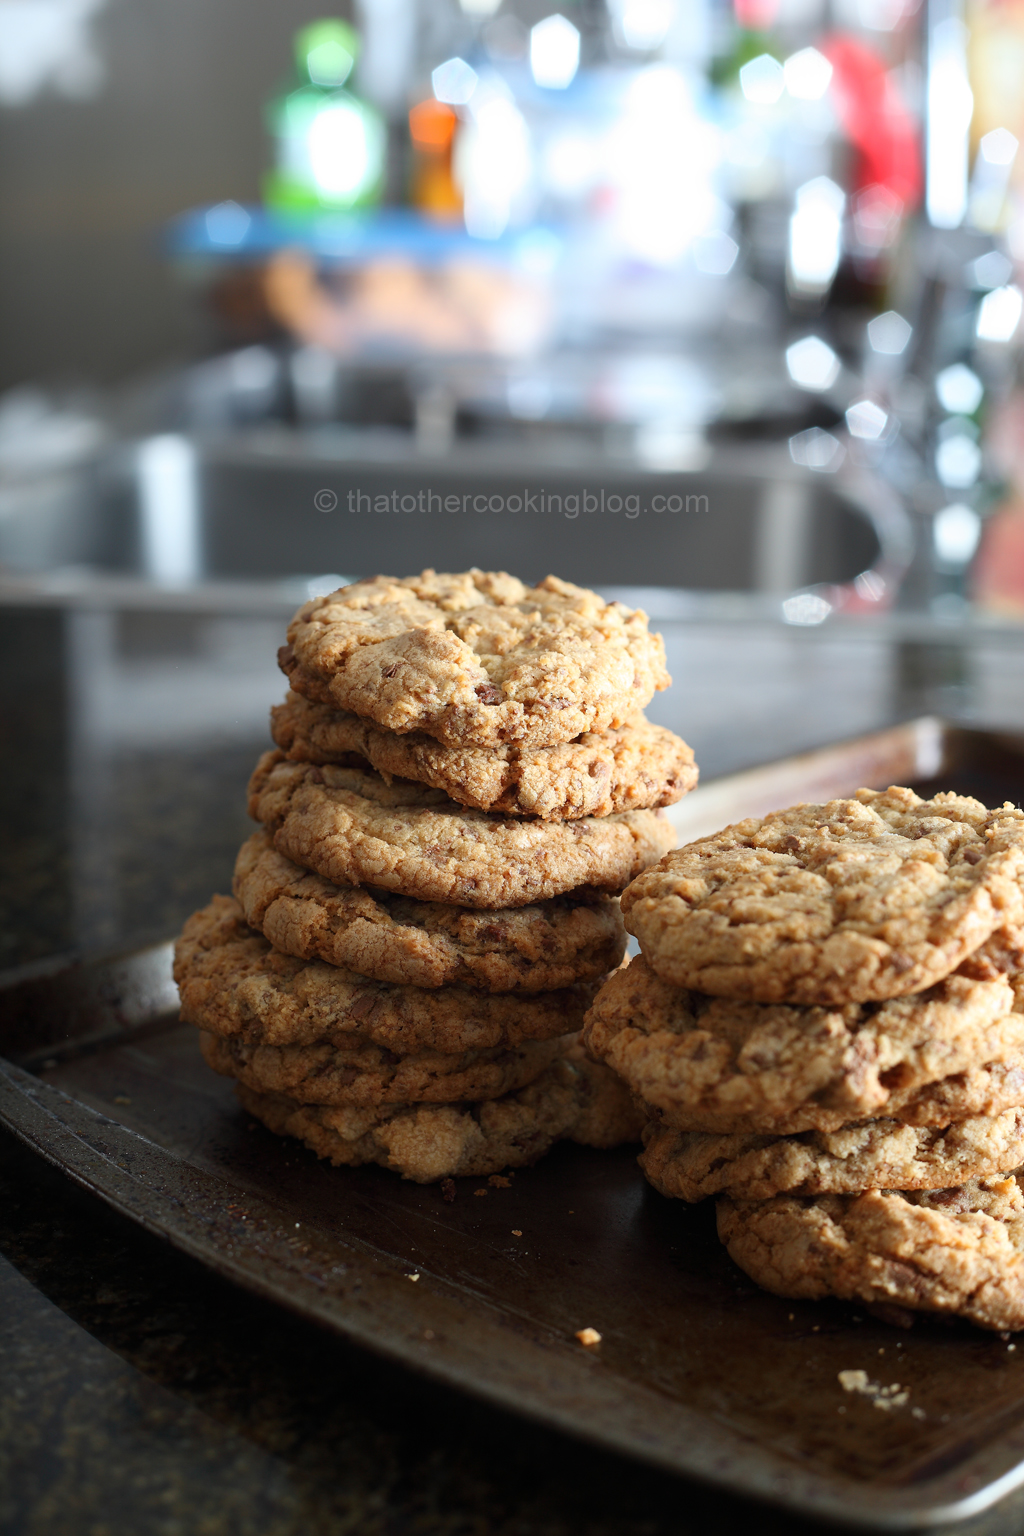
It’s finally happened. I caved and made cookies. First time, so I figured I’d document the whole thing with some pics and some notes. It’s been so long since I baked anything and the summer heat is approaching fast, so might as well get some baking done before the sun takes care of baking the northern hemisphere for the next few months.
One of the reasons I decided to make cookies is because chefsteps.com posted a cookie recipe and that got me excited (more like curious, I’m not crazy about cookies, I find them a bit boring to be honest) Anyways, if you don’t know who these chefsteps guys are, and you love technical cooking, beautiful plating and geeking out about food science and food photography, chefsteps is definitely the place. Let’s make some cookies now. Warning: the chronological order of the photos makes no sense.
Ingredients (makes about 20 cookies):
1. Get the ingredients ready before starting anything else. I measured everything. Chopped the chocolate bars and had cleaned and organized my kitchen. The stand mixer was ready to go.
2. Cream, butter, sugars, salt and baking soda. A couple of minutes at medium speed, stop. Scrape the sides of the bowl and then continue for another minute or 2 at a higher speed. The result should be fluffy, and have a whipped texture (I’m literally paraphrasing the chefsteps guys here). Note: I didn’t have brown sugar, or more like my brown sugar had crystalized and formed a solid sugar block that was literally indestructible, so I used the same weight in granulated sugar instead.
3. Add the vanilla and the eggs. Pretty self explanatory. I would probably try beating the eggs prior to using them in this recipe next time. The recipe calls for adding the eggs really slowly. Also, Thomas Keller suggests straining the beaten eggs to remove the chalaza, but that’s getting extremely anal about it now 🙂 I love it.
4. Add the flour and the chocolate. Mix until well incorporated. Do not over mix though. Cookies might end up tough because gluten had a chance to develop. No good. The end consistency of the dough should be that of really cold ice cream, at least that’s what it reminded me of when I started scooping it out. Note: I used all purpose flour, and this is acceptable… obviously, it’s not like the flour police is gonna show up. I’d love to try the pastry flour one they when I find it at the store though.
5. Rest the cookie dough. I transferred the stand mixer bowl to the fridge and it rested for a bit. I didn’t wait a whole hour, but this is probably a good amount of time to let the flour in the dough hydrate completely before baking. During this time. I CLEANED THE KITCHEN. again.
6. Prep your baking trays. Line them with parchment paper, or butter and a good flour dusting like I did. If you wanna get fancy, get those french silpat mattes at the store, they cost about a million dollars but so worth it. I used an ice-cream scoop do portion the cookie dough evenly, makes all the difference! I might have not made cookies ever but I’ve tried muffins and this is a really good way to ensure all the goodies are the same size.
Wanna get more sous-vide cooking guides and cool cooking how-to’s in your mailbox? You know what needs to be done!
We never spam. You should only be getting updates when new content is posted on the site. We also respect your privacy. We don’t share your email address with anyone and you can unsubscribe anytime!


![Another one of those recipes that almost got left behind. I took the photos weeks ago and I even uploaded them to my site but never got around to write about it which is weird.. guess was distracted by trying not to destroy my blog while making changes to it. It's happened. I love pork chops but they can go wrong pretty easily. They overcook really quick. And you know what that's like.. yeah... rubber soles. Totally unattractive. If you have the time and the equipment go sous vide. No doubt about that. If you don't then sear them in a really hot pan a couple of minutes per side. Obviously we're dealing with pork and we need to make sure it is safe to eat. Trichinosis is a concern and pork should be cooked throughly. Cooking meat throughly doesn't mean overcooking it though. The parasite in question actually dies at fairly low temperatures which is great news. This excerpt from a USDA document is interesting: Cooking - Commercial preparation of pork products by cooking requires that meat be heated to internal temperatures which have been shown to inactivate trichinae. For example, Trichinella spiralis is killed in 47 minutes at 52° C (125.6° F), in 6 minutes at 55° C (131° F), and in < 1 minute at 60° C (140° F). It should be noted that these times and temperatures apply only when the product reaches and maintains temperatures evenly distributed throughout the meat. Alternative methods of heating, particularly the use of microwaves, have been shown to give different results, with parasites not completely inactivated when product was heated to reach a prescribed end-point temperature. The U.S. Code of Federal Regulations for processed pork products reflects experimental data, and requires pork to be cooked for 2 hours at 52.2° C (126° F), for 15 minutes at 55.6° C (132° F), and for 1 minute at 60° C (140° F). But how can one translate this into a recipe? If you're cooking the meat sous vide... it's a no brainer. Set the water bath to 125.6F and cook the meat until the core has spent 47 minutes at this temperature for example. Of course. bare in mind that depending on the thickness of the chop, the total cooking time will need to be calculated. It's usually a few hours for individual chops just like the paragraph above suggests. Now, if you're cooking the chops in a skillet... things get a bit trickier and experience plays a big role in getting the meat cooked through but not overcooked. The thicker the chop, the trickier it gets. The leaner the chop, the quicker it cooks... all these catches. I personally observe a few things while pan searing pork chops at home: Thickness... I stay at about a inch or less other wise, sous vide, grill or roast. I bring the meat to room temperature. I salt the meat way ahead of time. If I have time I brine the chops instead I use a thermometer. I sear the chops in a really hot skillet a couple of minutes per side. I check internal temperature at various points. I finish in the oven if needed otherwise... I cover the pan with a lid and remove from the heat until cooked through. This might take several minutes so I check with a thermometer periodically. Sounds like a pain in the ass and it is but some repetition helps. Done a few times it becomes second nature. To my advantage it's really hard not to kill this parasite. If I work above 130F for the internal temperature it's pretty safe and the chop should be pretty juicy still. Anyways, don't take my word for it. I'm not an expert in the field that's the sort of thing I keep in mind when I'm cooking pork. Same with game meats. So moving on! Here is the recipe: [yumprint-recipe id='9'] enjoy!](https://thatothercookingblog.com/wp-content/uploads/2016/03/img_6621-1200x1200.jpg)
15 comments
Boring!!!! What!!!! My mouth is totally watering right now!!!
awww 🙂 thanks Laura! I’m just not a cookie person but they were super fun to make. Let’s talk about steak instead hahaha
Yeah, lets talk 🙂
They don’t look boring to me, good job. 🙂
thanks Karen! it’s been so long! How have you been?!
Love that you made these!! And I adore your photos! How much longer did it add to the cook time taking pics of each step? Great recipe!!
aww, thank you! 🙂 so glad to hear from you! The photos didn’t add that much time. I have an are on my counter which is rigged with strobes and diffusers, so I just have to place the food there and I take the pictures, is rather quick. What takes time is the editing afterwards, because I do take a lot of pics and the I have to go through all of them and select the ones I like and then, do a little editing, some cropping, adding the blog address on them, sometimes white balancing and some color correction but very minimal
Oh my goodness! What a beautiful post. Your directions are so easy to follow and I can almost smell them with the clarity of your gorgeous photographs. I hope ours turn out this well!
Oh…I just noticed how I will need to convert the ingredients, grams to cups/spoons… wish me luck!
yikes! I hope you find a wait to convert. I stopped using cups and spoons so long ago I wouldn’t even know where to start! do you have a scale?
I don’t and I think that’s why my cookies often fail! And the fact that I don’t seem to refrigerator the dough long enough. :/ I’m still going to try to convert and follow your directions.
yeah, it’s really to reproduce a recipe when measuring by volume and not weight.
http://www.ehow.com/how_4674770_make-homemade-weighing-scale.html
🙂
Thank you so much for your beautiful comments! I’m sure yours will turn out super delicious!
You have incredible pictures! Also these cookie sounds amazing 🙂
thank you Kristen!!! 🙂