One of the beautiful things about using stainless steel cookware is the fact that food can stick to it.
I know, it sounds weird but this is not a bad thing. Before I got into cooking a bit more seriously, all I ever used were nonstick pans. It felt safe! A pan to which food would stick to was the equivalent of game-over. Impossible to clean pans. Destroyed food. Burnt bits etc, etc, etc… horrid.
Today, I don’t think I have a single nonstick pan at home and I actually look forward to using pans to which food can stick to… sticky pans.
The little bits of food that stick to the bottom of a pan (fond) as they brown is the key to some really cool flavor development techniques. All that beautiful browned stuff can be deglazed by using any liquid and the result is pure delicious edible gold, but I will dedicate a post to talk about that in the future. Today’s post is about the opposite. How to turn your stainless steel pans into a nonstick pan.
So how should we cook something that shouldn’t stick to a “non-nonstick” pan, something simple like an egg?
Things can go south pretty quickly. Trying to retrieve that egg can very easily end in disaster with half the egg glued to the pan and the other laying shredded all over your counter and some of it on your spatula.
The cool thing is, any stainless steel pan (any metallic pan really) can be made virtually nonstick. It’s the same concept behind seasoning cast iron cookware. By heating up oil in the pan and allowing that oil get close to its smoke point the chemical properties of the oil change and turns it into a polymer which happens to be, yep, nonstick… similar to the coating on any nonstick pans or silicon baking ware.
A bit about temperature.
The smoke point of vegetable oil is about 400F or 200C which is what I’m using for my test. Visually, oil will form ripples over the bottom of a pan right before it starts to smoke so that’s an easy way to know when to stop applying heat. If the oil smokes a little bit it’s not the end of the world but keep in mind that burned oil tastes rancid so let’s try not to do that.
Also, who wants to cook an egg at 400F? hopefully nobody. Traditional egg cooking temperatures range from… say, 140F to 160F and that’s way below our polymerizing temperature but that’s not a problem. Once a polymer forms it stays there even if the temperature of the pan drops. Scrubbing and soap might remove it so don’t worry. If you want to retain that stainless steel original surface all it takes it’s some heavy scrubbing after every use. Something worth mentioning is that I used eggs cold from the fridge just in case you were wondering.
I ran 3 tests to help illustrate this whole thing and here they are:
Dropping an egg onto an oiled, cold unseasoned stainless steel pan and then cooking the egg:
As expected, this is the stuff of nightmares. I was pretty generous with the oil too (a common myth and the reason turn to nonstick)… but that won’t matter. The oil isn’t polymerized. The egg white is heavier than the oil so it will sink displacing the oil around it and will make contact with the pan’s steel surface. Expect that egg to stick all over. I wish I had used a brand new pan to illustrate this better. I got some sticking going but not as much as I would, had I used a brand new pan. I still think you can get the idea from the following pics.


Heating an oiled pan to near smoke point temperature. Removing pan from stove. Cooking egg using the pan’s heat.
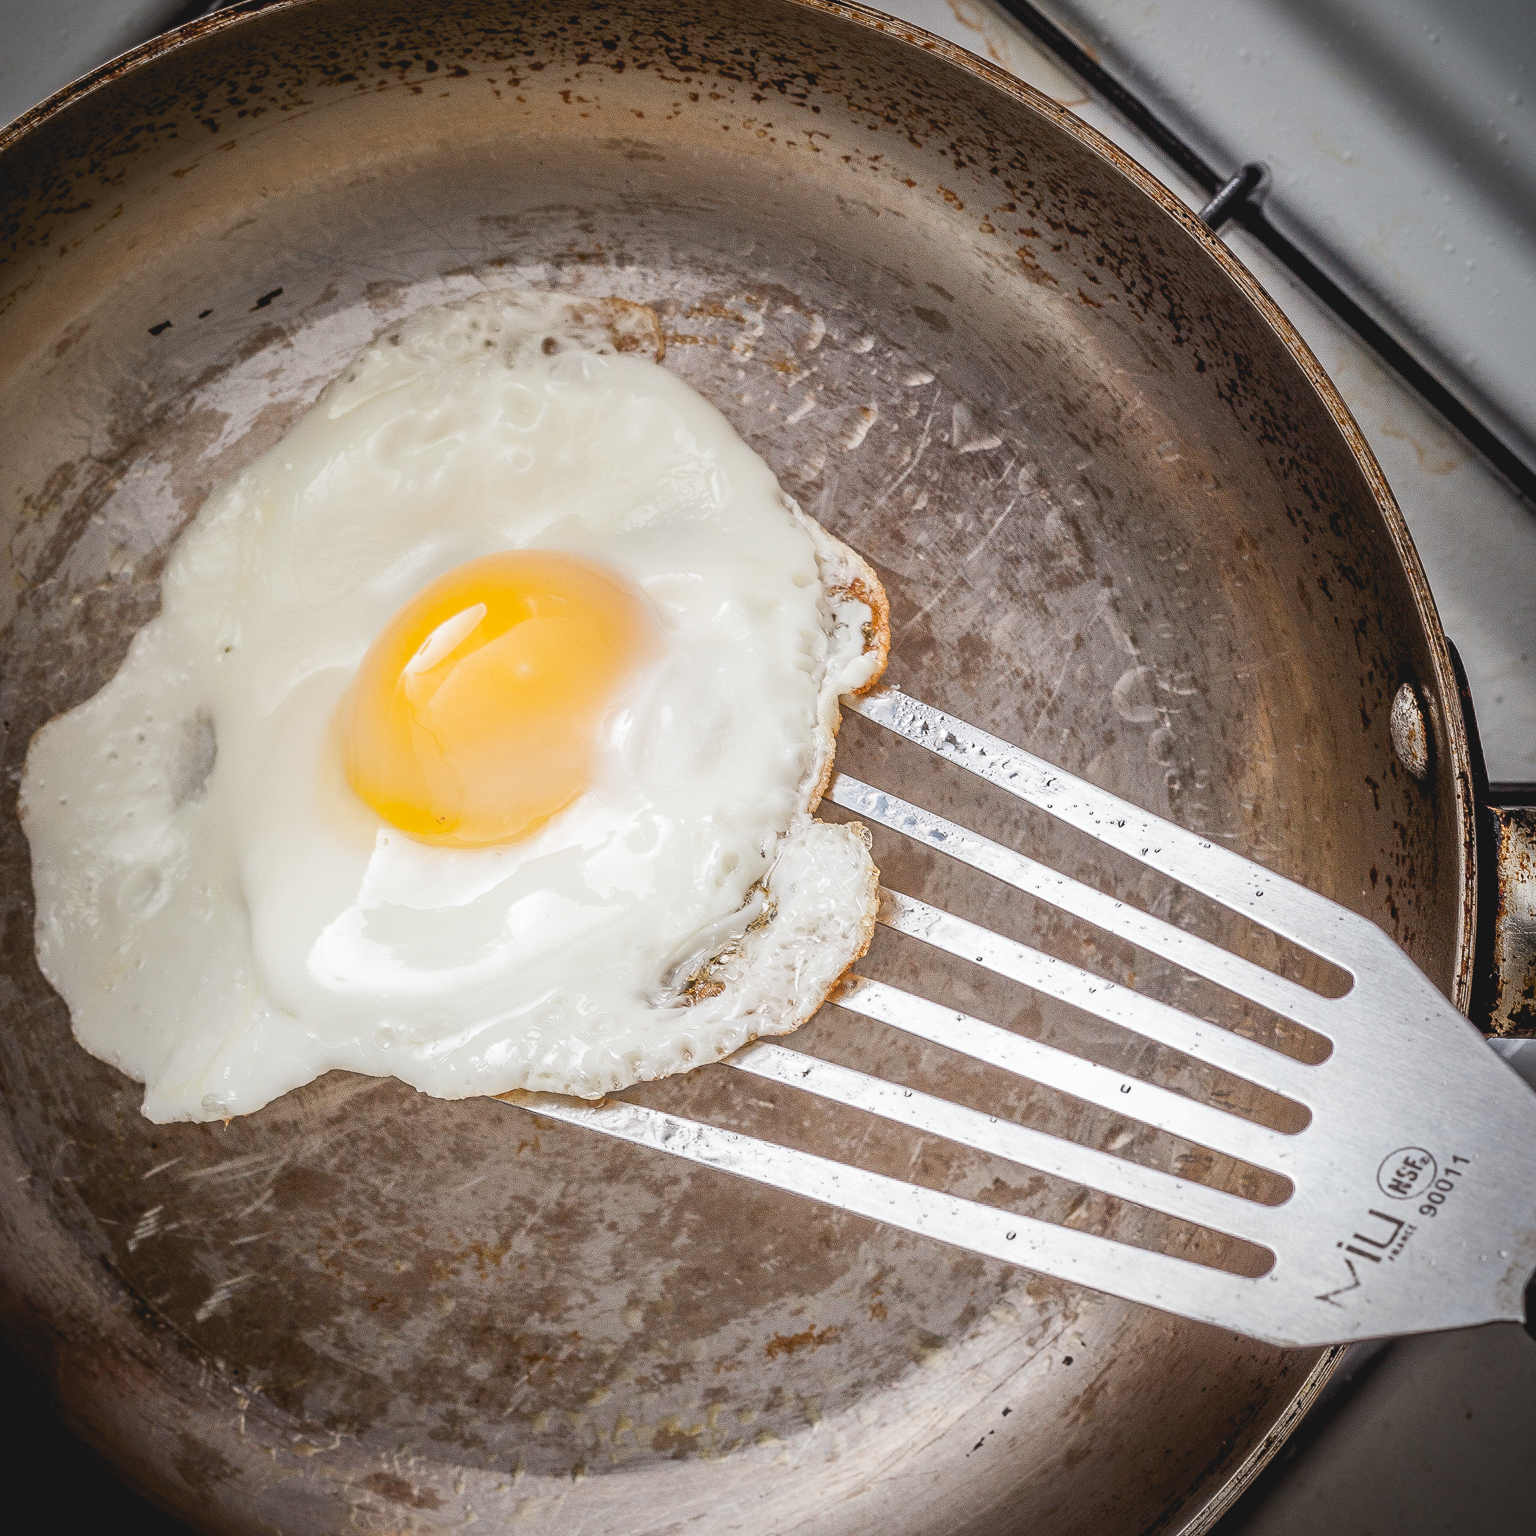
I coated the bottom of the pan with only a small amount of oil and discarded any excess completely. I only had enough oil to thinly coat the bottom. Heated the pan to smoke point temperature. I then removed the pan from the stove and dropped the egg in it. The pan’s heat did most of the cooking. Since the egg is cold from the fridge, that quickly lowers the searing hot temperature of the pan and the cooking actually had to be finished by returning the pan to the stove on low heat for about an extra minute. I got some browning around the white’s edge. Not a big deal… The egg slipped right off the pan. Polymer success!


Oiled pan reaching near smoke point temperature. Cooling pan to room temperature and dropping the egg in. Cooking egg over low heat:
This is my favorite approach because it allows me to cook the egg at a very low temperature which means having more control and avoiding any browning just like I would on a nonstick pan. I got a little bit of sticking through but only about 5 percent of what I’d get with the cold pan/oil test mentioned first. I’m sure I could do a better job at coating the pan and creating a really even polymer layer if I tried again.I still consider this a polymer success!

So what’s it gonna be? nonstick pans or polymerized steel?
Your choice but let me tell you when you’re at your friend’s kitchen and there’s not a single nonstick pan in sight, it doesn’t have to be game over. You can still pull it off. I’ll have to say though, having cooked in many of my friend’s kitchen.. nonstick pans are the rule and not the exception which drives me crazy but that’s another story. Anyways, I still think this is a good thing to know. It’s not a trick. It’s a pretty common technique used by many cooks out there.

And that’s that!
The concept of polymerizing a skillet works on any kind of metallic skillet. Not just stainless steel and the process is exactly the same. Try it out if you haven’t and let me know how it goes!
Do you have any cool cooking tips to share? As usual, drop them in the comment section! cheers!
Wanna get more sous-vide cooking guides and cool cooking how-to’s in your mailbox? You know what needs to be done!
We never spam. You should only be getting updates when new content is posted on the site. We also respect your privacy. We don’t share your email address with anyone and you can unsubscribe anytime!


22 comments
Great tip. Thanks.
of course Peggy! you’re welcome!
This tips can save a dinner! Great 🙂
hahah! indeed! 🙂
Very interesting post, Paul, thanks for sharing. I own both stainless steel and non-stick pans, and use the stainless steel more often. The non-stick are mostly for cooking fish or for cases where there is no deglazing required (like pancakes, or, indeed, eggs). I’ll have to see if I can replicate your technique with my stainless steel pans.
Glad you found the article interesting. Thanks Stefan! I’m also curios to see how this approach would stand against floured or breaded things like croquettes. I’ve only used seasoned cast iron pans for this type of stuff. Starches LOVE to stick to everything 🙂
I completely understand. But I do see a purpose for nonstick pans as well. Grated potatoes and pancakes come to mind. And savory pancakes
Mimi, I hear yah. Nonstick pans can be pretty handy. Some of my pans are so polymerized/seasoned that nothing sticks to them though, even starches. Sometimes I fight the opposite problem when I need a good sticky surface so I can deglaze it. Anyways, I just wanted to write about this because it’s hard to find information online. Take care Mimi!
This is brilliant! Personally I cannot stand non-stick pans with their required non-stick spatulas needed. All my pans are All Clad, which does clean up pretty well, but have occasionally had the sticky situation when it wasn’t desired. I shall use your trip in the future. Thanks!
thank you Carol! please let me know how it goes. I should post a comment on seasoning pans as well. It happens naturally overtime but can be done rather quickly in a few days.
Interesting article Paul! Thanks for sharing. Could you create a post on how to season the pan as well? Thanks!
Hi Frances, you’re welcome! Yeah, I have to think of a way to approach it that’s interesting but definitely in my list of articles to write. Your blog is beautiful. I signed up right away.
By this article I get rid of my fear of using stainless steel pans… Thank You!
in the kitchen never fear! 🙂 thanks for stopping by!
You can also just do the water test…Leidenfrost method.. nothing will stick to your stainless steel pots or pans..
how do you do that with an egg?
Let Food Release Naturally: Avoid moving or stirring your food too soon. Let it cook undisturbed until it naturally releases from the pan. For example, wait until a piece of meat forms a crust and easily lifts off before flipping.https://kitchensgadget.com/