Hey guys, here’s my humble version of takana fried rice. I’ve had this dish a number of times at Musha: A little Japanese restaurant not far from where I live in the Santa Monica area, LA. They serve traditional homemade style food, warm and cold dishes. The ambience is awesome and I really love that place. When I order I tend to gravitate towards the same dishes every time I visit which isn’t hard. The portions are tapas style so it’s pretty easy to sample your way through their entire menu in a few visits and find the dishes you really like.

One of those dishes is obviously their takana fried rice. For many years I wondered what was in it that made it so unique and wonderful. I never even paid attention to the name of the dish since most times I’d go to this restaurant in the company of Japanese friends and they’d order for me. Katana pretty much describes the dish itself. Katana simply means mustard greens. In the case of this particular dish, takana is also lacto-fermented in water and salt which improves its flavour and complexity.
I’ve only made one dish from Musha’s menu before. It was kakuni and if you haven’t had this and you love pork and sweet mirin wine, you should give it a try. It’s not difficult to make and you can find my very old post on it here!
Now, there’s nothing difficult about preparing takana rice but a few things should be considered in order to make the dish stand out.

Ingredients:
2 Tbsp chopped takana zuke (pickled mustard greens)
6-8 garlic cloves. Thinly sliced.
1 tsp gochujang paste (optional)
2 shiso leafs. Chopped. Squeeze out the liquid with your hands.
1 Tbsp mitsuba leafs. Chopped.
2 tsp black sesame seeds.
1-2 Tbsp sesame oil.
1 Tbsp soy sauce.
2 Tbsp scallions. Chopped. White part.
2-4 Tbsp scallions. Chopped. Green part.
2 Tbsp crumbled nori. More for garnishing.
1 egg, beaten. Optional.
1/3 cup cooked peas. Optional.
Ingredients Sushi rice:
1 lb sushi rice. Cooked. About 2 cups.
1 Tbsp sweet rice wine vinegar.
1 tsp kosher salt.

Making the base rice.
This is probably the trickiest part of the whole process and it’s pretty simple. I don’t have a rice cooker but I don’t think you need one either. Simply rinse the rice grains in water until it runs clear. I soak the rice in a pot and stir it with a fork to loosen up the starch. Then drain the grains and replace the water. I do this a few times until most of the outer starch is gone. I like fried rice to be a bit sticky but fluffy and that’s why removing that extra starch helps, otherwise you’d end up with a gooey mess.
Place the rice in a nonstick pot. For each cup of rice, use about 1 and a 1/2 cups of water. Add the rice wine vinegar and the salt. Bring to a gentle simmer and cover the pot with a lid. Allow to steam until done. You don’t need to stir it. Takes about 12 minutes. Test for doneness after about 8 minutes. Adjust seasoning if needed. Once done, take it off the heat and fluff it up with a spoon. You can use it right away or store it in the fridge for a few days until you’re ready to use it.
Making the fried rice.
This is the easy part. In a nonstick pot, add the sesame oil. Heat up over a medium, high flame. Add the takana and cook off any remaining liquid for a bit. Add the garlic and white part of the green onions. Cook until fragrant but not brown. Takes about 5 minutes. At this point add the rice and fry it for a bit. Add the soy sauce, shiso, the sesame seeds and half of the crumbled nori and let it cook until the soy sauce is evaporated. Add the sesame seeds and the gochujang paste. Mix it all up well and don’t stirr after this.
Getting that golden crust.
It’s all about a bit of patience at this point. I know it’s tempting to stir the rice but don’t. Serves no purpose at this point and will prevent you from getting that nice golden crunchy crust. Takes about 5-8 minutes. Pretty crucial minutes actually. Without this crust, it isn’t the same. You can thank me later.
Finishing up.
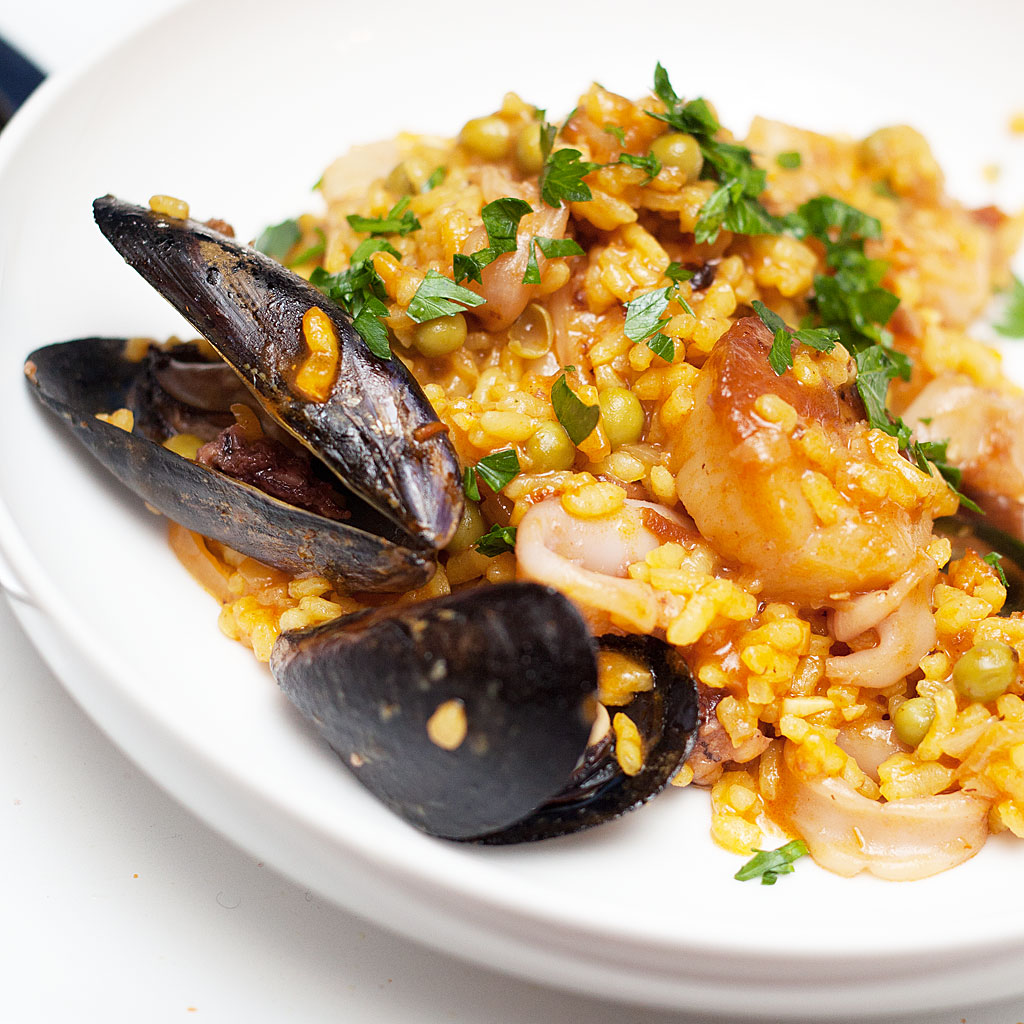
Alright, check for that golden crust (same as socarrat in paella). If it’s there, then now it is time to stir away. Remove from the heat. Mix it all up adding the rest of the ingredients and the eggs. Keep stirring until the eggs set. The carry-over heat in the rice and pan should be enough to cook the eggs so don’t worry about not having the pan over the stove at this point. And that’s it. Takana fried rice. If you let it sit in your fridge for a day or two it gets better. Have fun!

Wanna get more sous-vide cooking guides and cool cooking how-to’s in your mailbox? You know what needs to be done!
We never spam. You should only be getting updates when new content is posted on the site. We also respect your privacy. We don’t share your email address with anyone and you can unsubscribe anytime!