
I’ve spent the whole summer grilling outside. I got this pretty nice Webber Spirit grill about 2 months ago and I haven’t used the stove much. The grill is small, it only has 2 burners but it works really well. Gets super hot and I’ve successfully smoked a ton of different things. I wish it were a charcoal grill but regulations in LA prohibit its use in apartment complexes.
I’ve owned a number of grills in the past but I rarely used them, and rather misused them. Grilling is not an easy technique, especially for a cook that’s used to sous vide cooking. Grilling provides an extremely harsh environment for food. It is extremely inaccurate in terms of heat distribution too. But being able to cook outside without setting off any smoke alarms is awesome.

Without smoke restrictions, (except for maybe some annoyed neighbor …) cooking in smokey conditions literally adds to the flavor. I’m not gonna get into the whole charcoal vs propane grilling here, but that aside, being able to generate smoke whether through flare-ups or by slowly burning wood chips, and have that smoke in the proximity of food for some period of time, imparts a wonderful flavor and aroma to food.

It’s also worth dedicating a quick paragraph to cheap cuts. There’s nothing cheap about cheap cuts when it comes to flavor. The only reason they’re cheaper is that they’re tough, harder to cook and very misunderstood in the home kitchen but they pack a flavor punch and wonderful texture. In the hands of a good cook, cheap cuts can easily steal the show even in the presence of the most wonderful tenderloin medallion. Have you tried 72 hour short ribs?
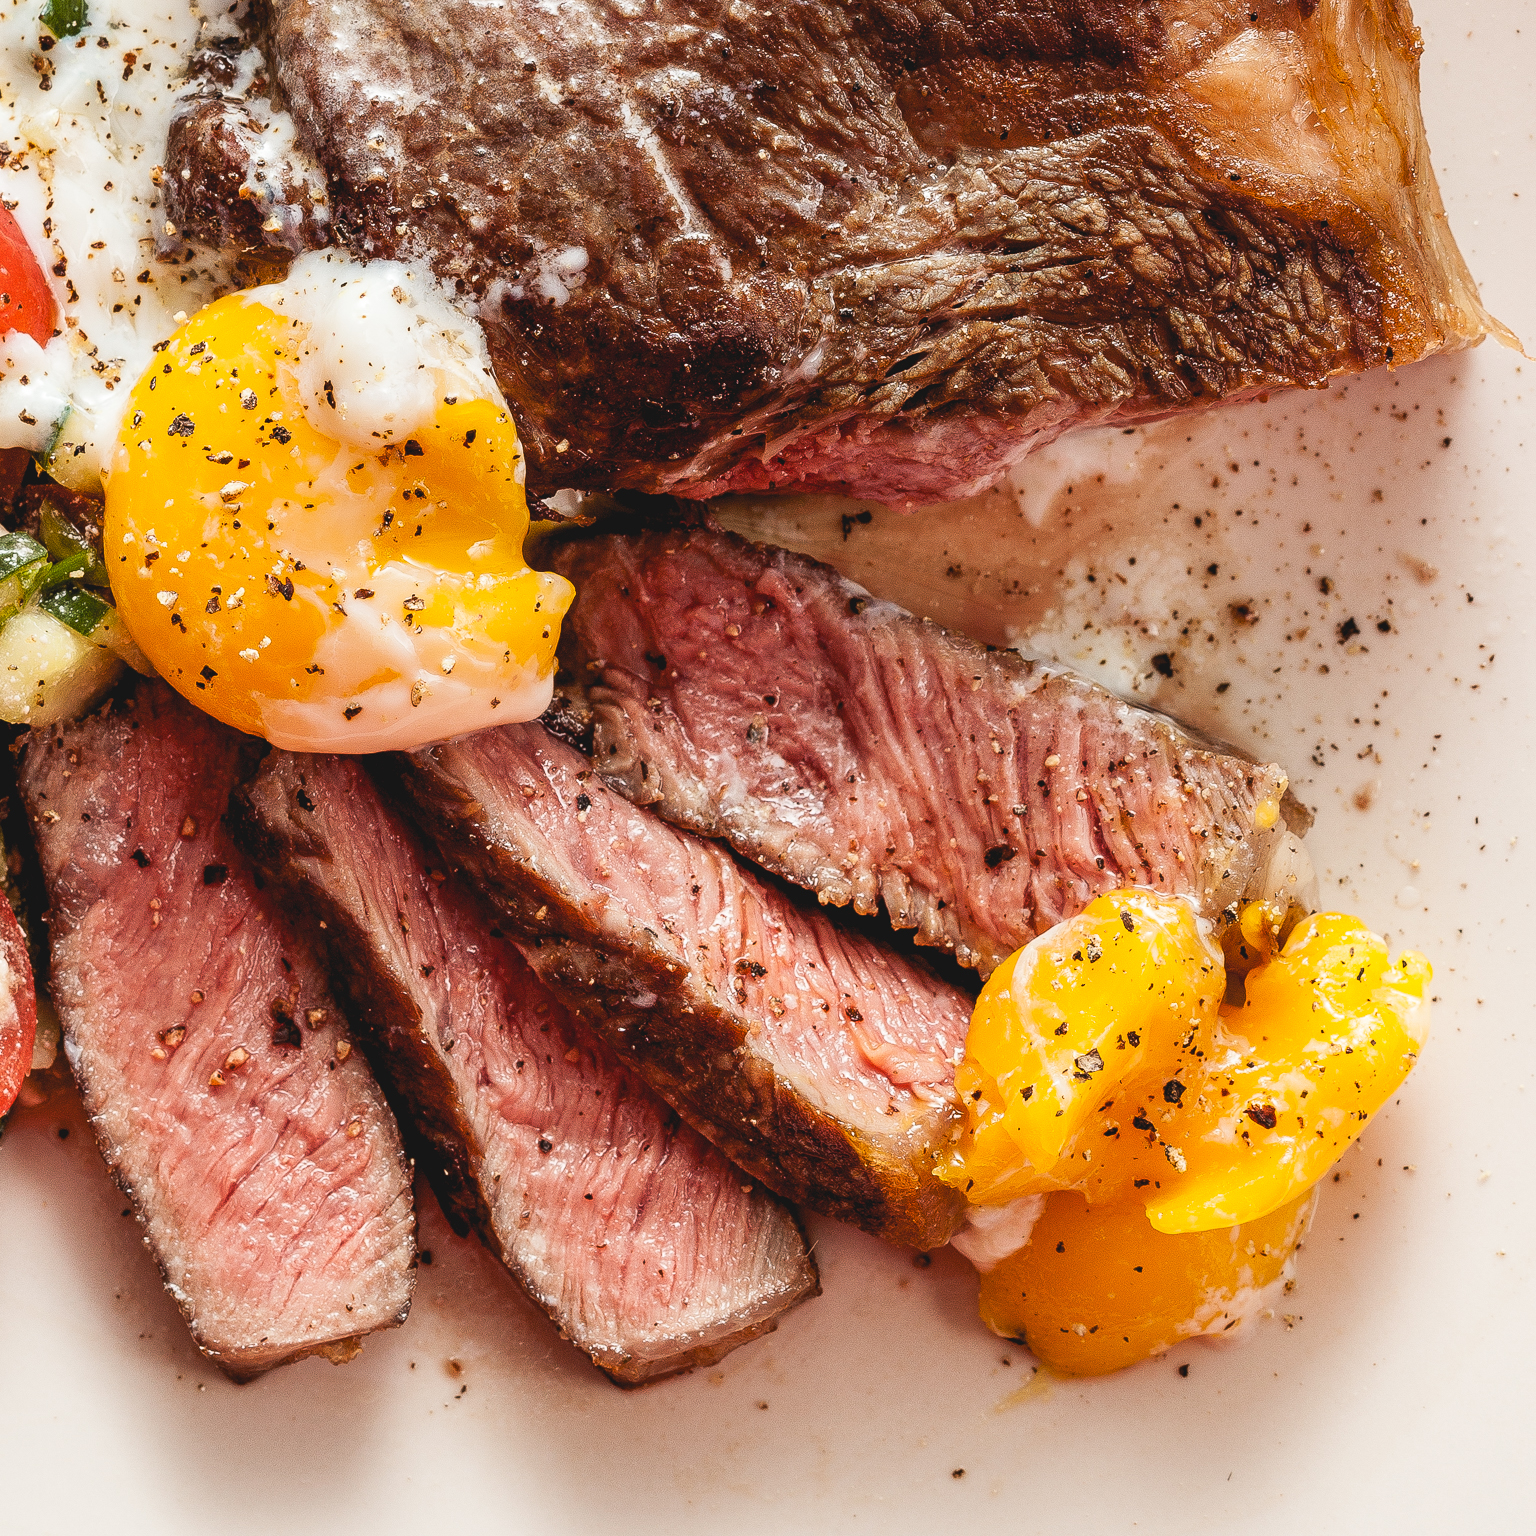
Now I wanna share this recipe with you guys, mainly because how surprised I was with the result. It’s one of the best things I’ve had in years, and yes, it is overcooked meat in every sense of the word and especially by sous vide cooking standards. The meat reaches about 160F at the core which means that for a big thick piece of meat like this, the doneness gradient is gonna include a significant portion of the meat closer to its surface reaching temperatures around boiling point. Yes, overcooked but did it matter? Nah. The marbling and a good deal of collagen help keep the meat juicy and tender.

There’s a tradeoff. A flavor/texture tradeoff. If you sous vide and do the quick sear (or the reverse of that…) then you will have great texture edge to edge plus say medium rare doneness edge to edge and a nice golden crust. The flavor will be pretty good. Now when you go medieval and throw that piece of meat on the grill over indirect heat for say 6 hours something magical happens at the surface and it permeates into the meat. Something that no quick sear will ever be able to accomplish. The complexity of flavor, the caramelization of the sugars, the browning of proteins when grilling is hard to beat. Add some smoke chips in there and you’re in for a magnificent treat.
Ingredients:
4-6 pound chuck roast.
Salt, brown sugar and black pepper.
About 2 cups of cherry wood chips.
Seasoning the meat.
I usually brine large cuts but I didn’t this time. I applied a dry rub instead. Be generous with your seasoning, especially if working with bigger size meat. Make sure the rub is applied throughout and evenly. For a 4 pound chuck, I used about 2/3 Tbsp salt, 1 Tbsp brown sugar and 1/2 Tbsp ground black pepper. Wrap it all up in plastic and allow to cure for 24-48 hours or overnight if you didn’t have time to plan in advance. You could flip the meat once every 12 hours or so to distribute the curing juices but I really don’t think it will make much of a difference. Also, place the wood chips in a bowl and cover with water and sit on the counter until you’re ready to grill.
Getting ready.
No need to bring the meat to room temperature or preheating the grill. In slow-cooking/roasting these factors don’t really change the outcome by much, especially if the size of the meat is under 6 pounds. With larger pieces of meat, the added cooking time can increase significantly. If anything I would suggest starting with a cold grill and cold meat to make the roasting process as gentle as possible. That’s how I usually roast chickens and over the years haven’t found a better way. Some people heat up the grill before cooking. For low and slow cooking I think that’s a waste of gas and time, especially if you’re only cooking one chuck. Direct sunlight around noon will make your grill hotter as well so keep that in mind. On a hot summer day (around 90F), direct noon sunlight can add up to 50C but every grill is different so don’t go by my numbers.
Turning your grill into a smoker.
Place the wood chips in a smoker in an aluminum container (smoker box) and seal it with tin foil. Poke some holes with a knife and rest the improvised smoker box over one of the burners (over the flavorizer bars actually, that V-shaped plate that covers the actual burner) on its lowest setting. Depends on your grill really but it’s better not to place the chips in direct contact with the burner itself for they will catch on fire or burn too fast. Placing them over the flavorizer bar is your best bet but I still think the chips burn a little too cool (I’m trying to figure out how to find a happy medium here). Remember, that burner needs to heat your grill enough to reach about 250F. On my grill, that means setting it to its lowest setting. Practice, testing, and patience to master this step.
Finally, place the meat on a roasting rack (I use a cooling rack). I place the cooling rack over a hotel pan just to catch all the drippings and melted fat. Place this contraption on the opposite burner and keep it off. You just need one burner on, and that’s the one used to burn the chips and create your smoker explained in the previous step. Close that lid and set your timer to 6 hours.

It takes a lot of self-control to not open the grill but there’s nothing gained by looking at the meat while it cooks. In fact, keeping the grill closed ensures that the temperature remains steady. If you have a probe thermometer (the oven/grilling kind) you might wanna use. Stick the probe horizontally into the meat and monitor it from time to time. Remember, the internal temperature by the end of the cooking time should be around 160F. That’s about 6-8 hours for a decently sized piece of meat.

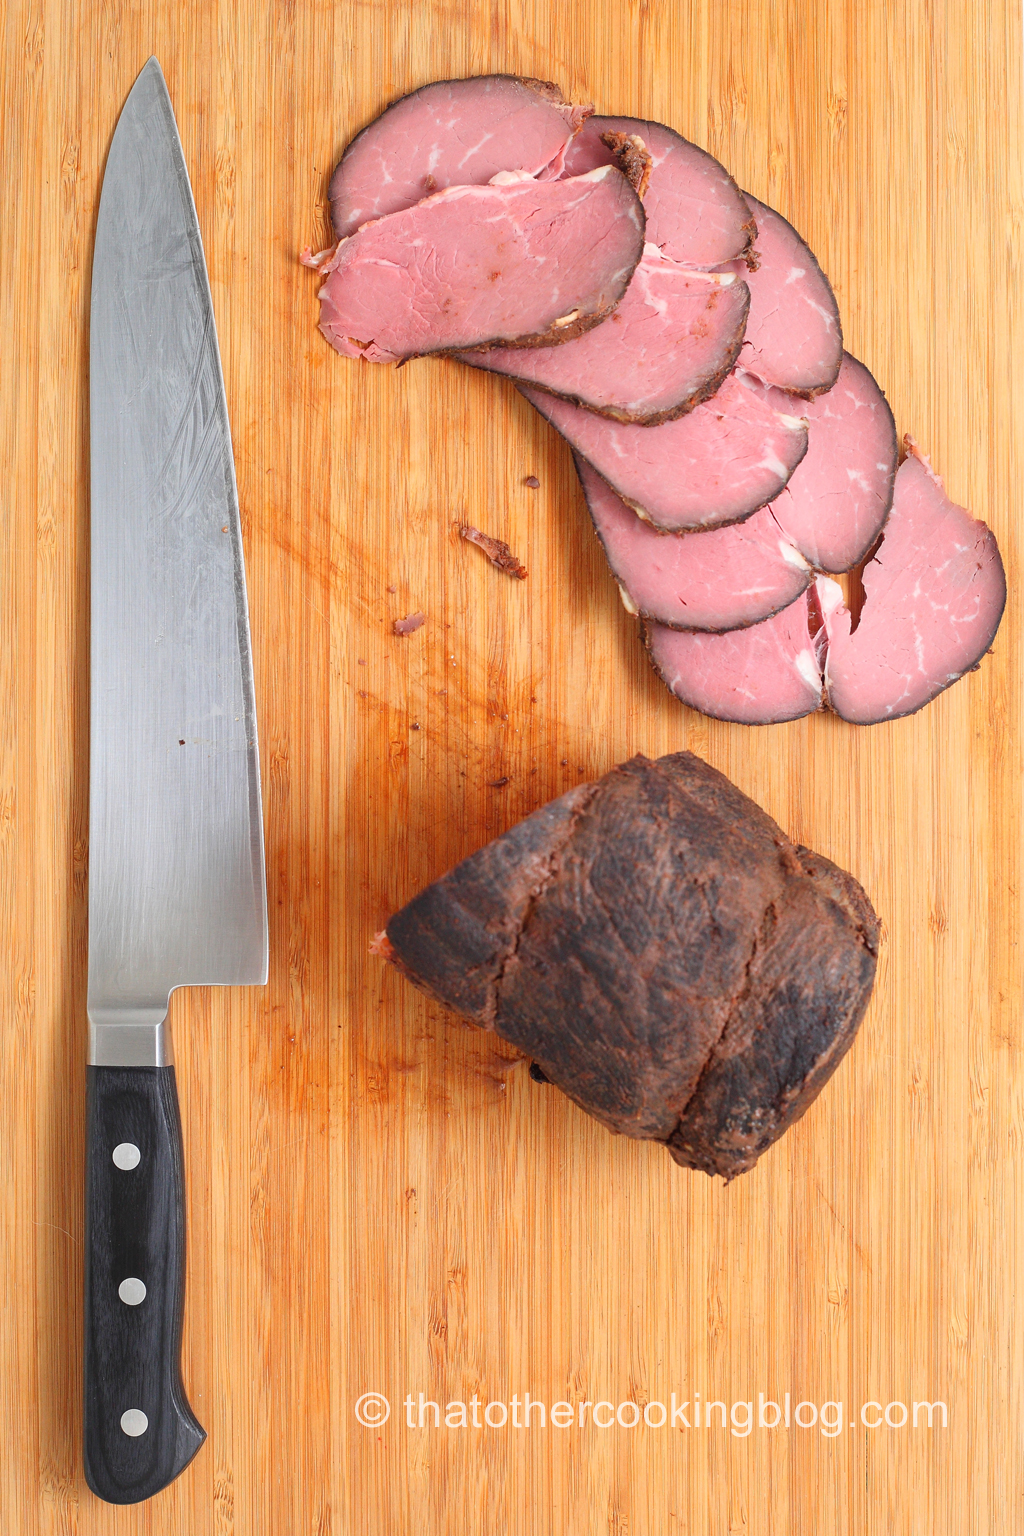
It barks!
One of the most amazing things about smoking food is the “bark” or that near-black crust that forms during the smoking session. Brown sugar helped developed a nice bark on my roast but bark should form naturally even if no sugar is added. This usually requires more than 6 hours though and usually above 10. I’ve had some relative success getting dark barks in the past but I’m still working on my smoking skills. I’ll get back to you when I nail it. Have you smoked anything on a grill?
Wanna get more sous-vide cooking guides and cool cooking how-to’s in your mailbox? You know what needs to be done!
We never spam. You should only be getting updates when new content is posted on the site. We also respect your privacy. We don’t share your email address with anyone and you can unsubscribe anytime!
5 comments
Paul, have you tried sous vide after smoking? The smoke will then also permeate into the meat. Of course you should not smoke above the intended sous vide temperature.
I haven’t, Stefan. have you? I wonder of this would work only for slightly smoke flavoured foods. Not that heat is really needed to impart that smokey flavour (you just need smoke) but with a grill it’s hard to go below 250F unless I open then lid.