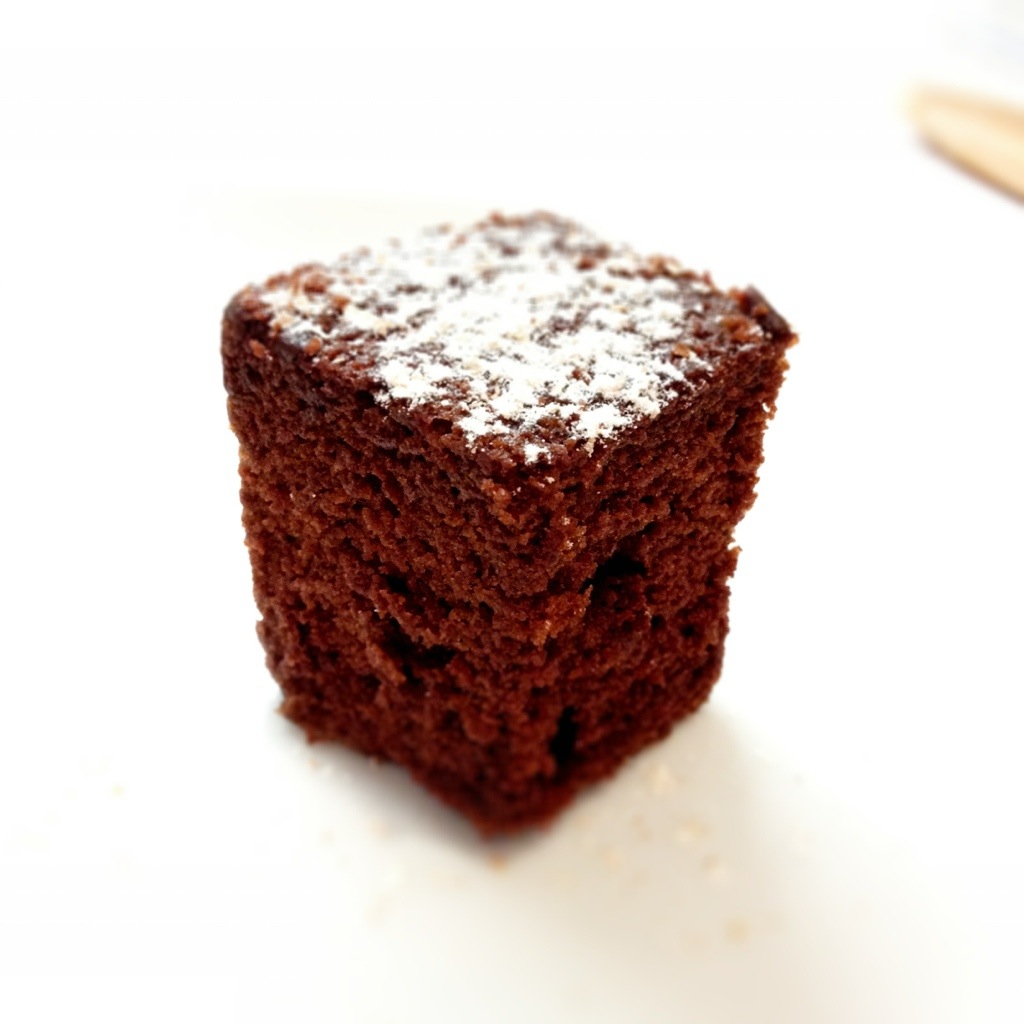
You might remember 2 years ago when I posted my first no-knead bread article. I was happy-ish with the result but the bread wasn’t as airy as I would have hoped even though I had done everything right… or had I?
The Bouchon days.
Before embarking on another bread project I revisited my Bouchon book and there was a critical piece of information that I somehow missed before. The size of the air pockets is somewhat dictated by the amount of kneading. More kneading tends to generate smaller pockets or bubbles. In any case, with no-knead bread, this couldn’t be the issue so I was still in the dark plus I believe they were talking about drier kinds of doughs.
Boy was I wrong.
A few months back I got obsessed with Ciabatta bread making and baked a ton of loaves at home… like literally. That’s when I was re-introduced to dough folding while I followed some video on youtube. I mean I knew about folding but don’t think I understood its importance or how it’s properly done. I don’t recall ever adding it as a step in previous posts that’s how little I minded. As I watched this person mechanically perform this step without explanation it suddenly hit me! All along I had assumed folding was kinda the same as kneading… maybe part of shaping but that was it and left it at that…boy was I wrong.

Don’t freak out.
Before we go on I’d like to stop here for a sec and remind you guys that everything is going to be ok. There are tons of variables to consider when making bread and only so much we can do to control them. The quality of the flour, the gluten amount, humidity of the air, the quality of the yeast, the temperature of your kitchen, the oven temperature, oven humidity, noisy neighbors, etc… It can be exhausting just thinking about it especially if you are a control freak. I cut back on the freak factor dramatically this time around and ironically I ended up with the best bread I’ve ever baked. And I’m certain it’s because I folded the dough this time.
Ingredients (makes one outstanding loaf).
After adding 500 grams of AP flour (bread flour can actually be hard to find and sometimes I wonder if it really makes any difference) to a stainless steel bowl I decided to add 400 grams of water, about 1 tsp of dry active yeast, about 1 and a half tsp of salt and mixed everything by hand (using a silicone spatula) in a big stainless steel bowl until well incorporated. I can’t stand messy kitchens so … keeping this process tidy is always a source of anxiety for me. Keeping the kitchen clean always comes down to planning, prepping and experience. Anyways transfer the mixture into an oiled container, cover with cling wrap or a lid and let it rise for 12 hours.

12 Hours Later … No Knead Yes Fold.
No-knead bread doesn’t require the kneading workout other bread do which is awesome if you don’t own a stand mixer. It does require a long 12 fermentation step in which CO2 bubbles moving around the dough do the work for you (and the awesome flavors). As gluten develops, the dough becomes more stretchy and better at trapping gas. After roughly 12 hours, gluten has developed well enough but before baking, we gotta fold it. It literally means folding the stretchy dough over itself a few times. Great folding instructions can be found at seriouseats.com but I’ve copied them here for convenience and in case that page goes away or the url changes.
Step by Step (from seriouseats.com)
-
Scrape the dough out of the container and place it directly in front of you.
-
Gently stretch the dough into a square. (The dough has a tendency to return to the original shape, so just keep working at it until you get it where you want it.)
-
Using both hands, pick up the right side of the dough and lift it off the work surface, stretching the dough upward as you lift (just don’t tear it.)
-
Fold the flap of dough one-third of the way across the square.
-
Repeat step 3 for the left side of the dough.
-
Fold the flap of dough across the rest of the dough.
-
Using both hands, pick up the end of the dough farthest from you and repeat step 3.
-
Fold the flap of dough one-third of the way across the dough.
-
Using both hands, pick up the end of the dough nearest to you and repeat stop 3.
-
Fold the dough across the rest of the dough.
-
Flip the dough over so that what was once bottom of the dough is now the top. The surface of the dough will be shiny and smooth.
-
Place the dough about one foot away from your body and cup both hands around the dough so that your little fingers can touch the work surface.
-
Drag the dough toward your body, making sure that the dough remains in contact with the work surface at all times. Friction is required in order for the dough to come together properly (so your work surface cannot have too much flour or oil on it or the dough will slide too much.) The bottom edge of the dough should become pinched between the work surface and your fingers. The top surface of the dough will begin to stretch and tighten (i.e. the surface of the dough will become more and more smooth.)
-
Rotate the ball of dough about one-third of a turn, repeat steps 12 and 13 until all of the seams created by the folding are no longer visible and the dough comes together in the shape of a ball.
-
To further tighten the ball, cup your hands around both sides of the dough.
-
Lightly grip the dough (but enough so that the dough adheres to your hands) and stretch the surface of the dough downward.
-
Keep stretching – but don’t tear the surface of the dough until your hands are cupped underneath the dough, almost to its center, and your palms are facing up.
-
Rotate the dough and repeat until a nice, tight skin is formed across the ball.
-
The surface of the dough should look tight, and air bubbles should appear just beneath the surface. At this point, return the ball of dough to its container, cover it, and continue the fermentation process as described in the specific recipe.
Adapted from The Art of Baking Bread by Matt Pellegrini. Copyright © 2012. Published by Skyhorse Publishing. Available wherever books are sold. All Rights Reserved.
What Does this Folding Do?
Folding kinda creates layers or membranes that give the dough structure to trap air/vapor/gas more readily. In a way, it reminds me of puff pastry and whipped egg whites folding combined. Folding takes bread to the next level (folding dough is more commonly done with high hydration bread btw) Some air might get trapped between folds which adds to the airiness of the final bread but the most important thing about folding is the fact that layers of stretched gluten membranes now envelope the dough ball. It’s a bit like an onion/balloon. Apply some heat now get ready for some serious bubbles.

Some final thoughts on folding.
If you’re working on a bench you will need to dust it with plenty of flour as it will stick to the surface…. I prefer to work inside the oiled container and wet my fingers in water before folding. Reduces the mess dramatically and I believe you get a better result. After you’re finished folding you could transfer the dough onto parchment paper and give it the final shaping then and dust with flour as needed. Remember to always keep the seams under the dough ball. Later, when you’re ready to bake you can lift the dough by grabbing the parchment paper instead and placing it directly into the dutch oven directly (see The bake! step).
The final proof.
It’s time to get that oven of yours going. I set it to the highest setting and then adjust down if I need to. Set the oven to 500F and place a dutch oven with the lid on it. You can use a pizza stone, baking steel or a regular baking pan. I like to use the dutch oven. I’ve been thinking of getting a baking steel though but anyway, at least give the oven an hour to heat up and heat up the dutch oven as well. I don’t need to remind you about having your baking mitts ready. Meanwhile, the dough has been proofing away while you wait. Perfect. The dough has increased its volume considerably (about double) and now when you press it lightly with your finger, the mark remains. Time to bake.
Something cool (more like humid) about dutch ovens.
When I bake on an open surface like a pizza stone, baking sheet, skillet, etc… I tend to place a baking dish at the bottom of the oven with some water to generate steam during the first 10 or 15 minutes of baking. This slows down the crust formation giving your bread a better chance to expand before the crust hardens. When using a dutch oven the same thing happens but all self-contained. The water in the bread is enough to provide the much-needed steam.
The bake!
Using your oven mitts, get the dutch oven out of the oven and place it on top of the stove or any heat resistant surface (remember, this thing is 500F hot). Remove the lid and get ready to transfer the dough. Remember, this dough is very wet and moving it around is can be difficult. If the dough was resting over parchment paper or aluminum foil it should be a no-brainer to move it into the dutch oven. Place the lid back on top and stick it in the oven for about 45 minutes to an hour.

Relax, you’re done.
Carefully remove the bread from the dutch oven, place it over a cooling wire rack… and wait. You might be tempted to cut into the bread straight away but internally that bread is still cooking and starches are gelling, water still evaporating, etc. At least give it another 45 minutes before slicing. And now, after almost 15 hours from start to end, you’re really done. I promise.

Wanna get more sous-vide cooking guides and cool cooking how-to’s in your mailbox? You know what needs to be done!
We never spam. You should only be getting updates when new content is posted on the site. We also respect your privacy. We don’t share your email address with anyone and you can unsubscribe anytime!