

Making ice cream using dry ice and a stand mixer is a extremely fun and easy process, and a great option for those who own a stand mixer but don’t own an ice cream maker… and just so you know, the stand mixer is also OPTIONAL too really, because all you really need is a bowl, a strong mixing paddle and a strong arm, you can go to town this way and make ice cream at home with no special gear, but the results you’ll obtain using a stand mixer will most likely be smoother and silkier. Dry ice is nothing more than carbon dioxide that has been frozen, reaching the extremely cold temperature of -109F or -78C.

Dry ice doesn’t melt, it evaporates (sublimation) which makes it very appropriate for making ice cream at home. It leaves no traces behind, all it really does is help bring the ice cream mixture to a very low temperature rather quickly, allowing for faster churning times and reducing water crystals which would form if the cooking of the mixture would happen at a slower pace. If you want a faster way of making ice cream, you’ll have to look into liquid nitrogen, we won’t cover that technique here today. Always handle dry ice with care, use heavy gloves, allow for good ventilation and always allow for total evaporation before a delightful spoon of home made ice cream! Here’s what you do:

Gear:
stand mixer
1 sauce pan
1 bowl for whisking eggs
1-2 lb dry ice (pulverized )
whisk
measuring cups
hammer, rolling pin, or any other blunt object to crush the ice
plastic bowl, container and spoon
thermometer (if you care to precisely measure things)

Ingredients:
2 cup heavy cream
2 cup coconut milk
1/2 hershey’s chocolate syrup
1/2 cup sugar (more if you like sweeter)
1 tsp kosher salt
1 Tbsp vanilla extract
6-9 egg yolks

Method:
01: mix heavy cream, coconut milk, salt, vanilla, hershey’s syrup in sauce pan
02: temper, bring to a simmer, whisk constantly, for about 2-3 mins
03: remove from heat, let rest until temperature drops under 60C
04: cream egg yolks and sugar in a separate bowl
05: pour sauce pan content into creamed egg yolk bowl
06: stir constantly, yolks shouldn’t scramble
07: pour this mix back into the sauce pan, add heat in the stove
08: yolks will thicken when temperature reach 70C-80C, remove from heat
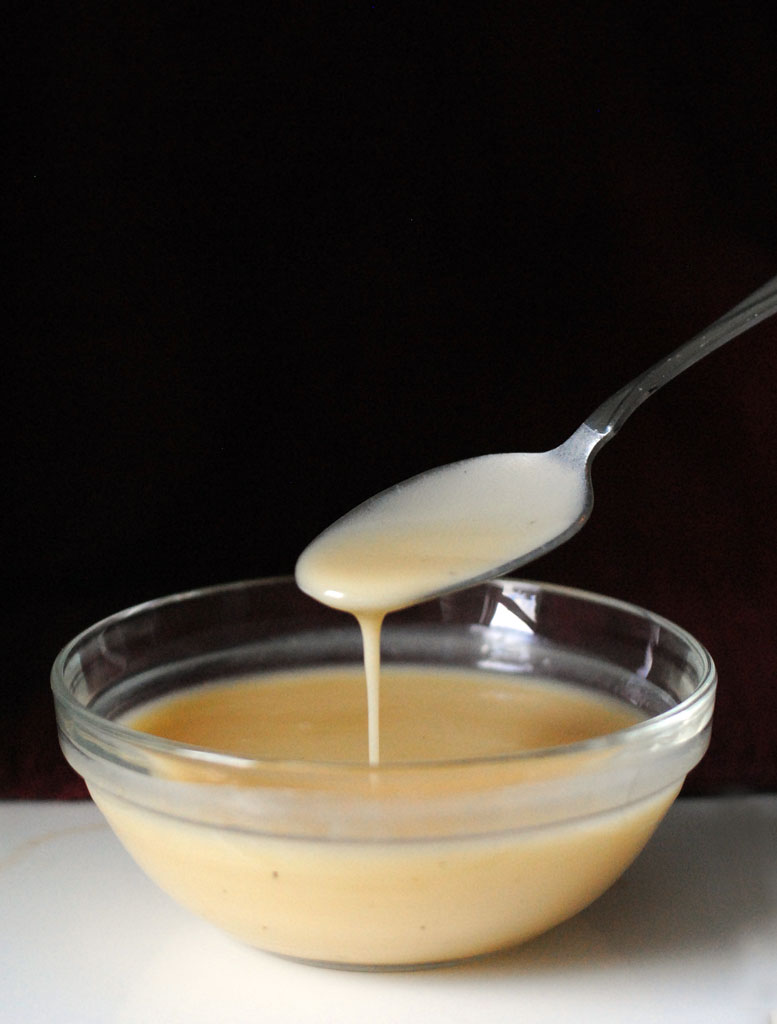
09: the mixture should have a nice creamy consistency
10: place mixture in the fridge and allow to become cold but not freeze
11: place cold mixture in the bowl of the stand mixer
12: use the paddle attachment
13: set to slowest speed, stir for a bit and then
At this point you want to place the dry ice in a bag, wrap it in a towel, and beat the crap out of it with a heavy object, it should pulverize relatively easy. Collect the ice into a plastic bowl and have a spoon ready to scoop it and add it into the stand mixer bowl.
14: start adding the pulverized dry ice into the bowl slowly
15: constantly check that your mixture is hardening up
16: dry ice should completely evaporate before adding more
17: for about a quart of ice cream I used about ~2/3 of a pound of dry ice
18: eventually the mixture will have the right consistency
19: allow ice cream to rest in the freezer for an hour
20: all traces of carbon dioxide should be gone by now
21: the ice cream is ready to serve, keep in freezer otherwise

Final Notes:
If you buy dry ice, make sure you use it that same day, it evaporates fast, even if you have it in the freezer. A pound of dry ice placed in the freezer overnight will be gone by the next day, all you’ll find is an empty plastic bag 🙂 Ice cream made this way will stay in the freezer for about a week, there are no preservatives, so its lifespan is a bit shorter. One last thing, if you find a bit of a tangy aftertaste in your ice cream that wan’t intentional that means that a little carbon dioxide still in the ice cream, nothing to worry about, just allow the ice cream to rest another hour and that should do it, Enjoy!!!!!
Wanna get more sous-vide cooking guides and cool cooking how-to’s in your mailbox? You know what needs to be done!
We never spam. You should only be getting updates when new content is posted on the site. We also respect your privacy. We don’t share your email address with anyone and you can unsubscribe anytime!

6 comments
Great post, Paul, very interesting, thanks for sharing! Lovely photography as well. The stand mixer with the clouds is great 🙂 As I do own an ice cream maker and do not have a clue where to acquire dry ice, would there be any reason to apply this method (texture, perhaps)?
thanks Stefan, glad you liked it! It is hard for me to compare the 2, I don’t own an ice cream maker. I have to say that the texture of the dry ice ice cream I made was extremely silky and creamy. Ice crystals will find an easier way to form at a higher temperature closer to the freezing point of water, but when you go lower, this becomes more difficult, at least that’s what I’ve read on my copy of Modernist Cuisine. The other advantage, time.. you can make ice cream in a fraction of the time it requires when using a conventional ice cream maker, but I’m sure either way is yummy regardless!
The ice cream maker is very easy though — just pour in the ice cream mixture and wait for 30-45 mins. It does become very silky and creamy, but of course it may not be as silky as with dry ice as I haven’t tried them side by side.
You are right that making your own ice cream is yummy! Have you ever tried banana? It’s the easiest and doesn’t require any cooking or eggs. http://stefangourmet.com/2012/05/05/banana-gelato/
nice post! haven’t tried this but would really like to try it in my next ice cream making run, and I also want to try making frozen yogurt, really like the taste 🙂
you’ve probably seen this:
http://www.chefsteps.com/activities/vanilla-bean-ice-cream-base
great sous vide site btw
If I get a mixer, this will be the first thing I make!!!
yeah