Cooking tacos de carnitas sous vide is extremely simple and possibly the best way of cooking pork shoulder in general. Moreover, cooking carnitas sous vide should be in your recipe arsenal if you are looking for a guaranteed crowd pleaser that just requires basically only 20 active minutes of your time. Of course, if you want to cook that pork shoulder traditionally, that’s totally up to you (I love it either way) and you can check out these articles for guidance if you need some:
The Best Oven Roasted Pork Shoulder I Ever Cooked.
Ingredients (yields about 15-20 tacos. Taco party):
1 pork shoulder (the picnic part would be ideal for sous vide)
Corn or flour tortillas
Avocados
Limes and lemons
Fresh cilantro
Salt
Fermented habanero sauce (or the hot sauce of your choice).
How do you bag a whole pork shoulder for sous vide?
I think this is about the only issue you might run into. If you get a whole pork shoulder… well… that thing is big and you’re probably not gonna be able to sous vide it whole. You will need to cut it into chunks which is perfectly fine. The picnic is a smaller portion of the pork shoulder and it is about a gallon in size in which case using a gallon ziplock bag is perfect.

Salt…
Salt the meat generously (and I mean this, don’t shy away) and bag it up. No need to brine or cure overnight in the fridge since the cook time is long enough that salt will have enough time to be diffused into the meat. You’re welcome to get creative with the seasoning. I keep it simple but some common additions are sugar, garlic powder, pepper, juniper berries, rosemary, thyme, sage, tarragon, orange peel, etc, etc, etc. Pork is awesome.
And Cook…
Bag it up. Remove as much air from the baggies as possible (or vacuum seal) and cook in the water bath at 60C for 12 hours. Basically overnight. And btw.. brace for yourself for the best carnitas you’ll ever have.
The Fat Cap.
I like to leave it on and score (you can check out the links provided above for how I go about scoring the fat cap) it but you can remove it and save it for other uses. If you do decide to leave it on, scoring it just makes it easier for it to crisp up. You can score the skin before or after the sous vide step but I suggest doing it before, while the meat is still cold and firm. It will be an easier knife job.
The Oven.
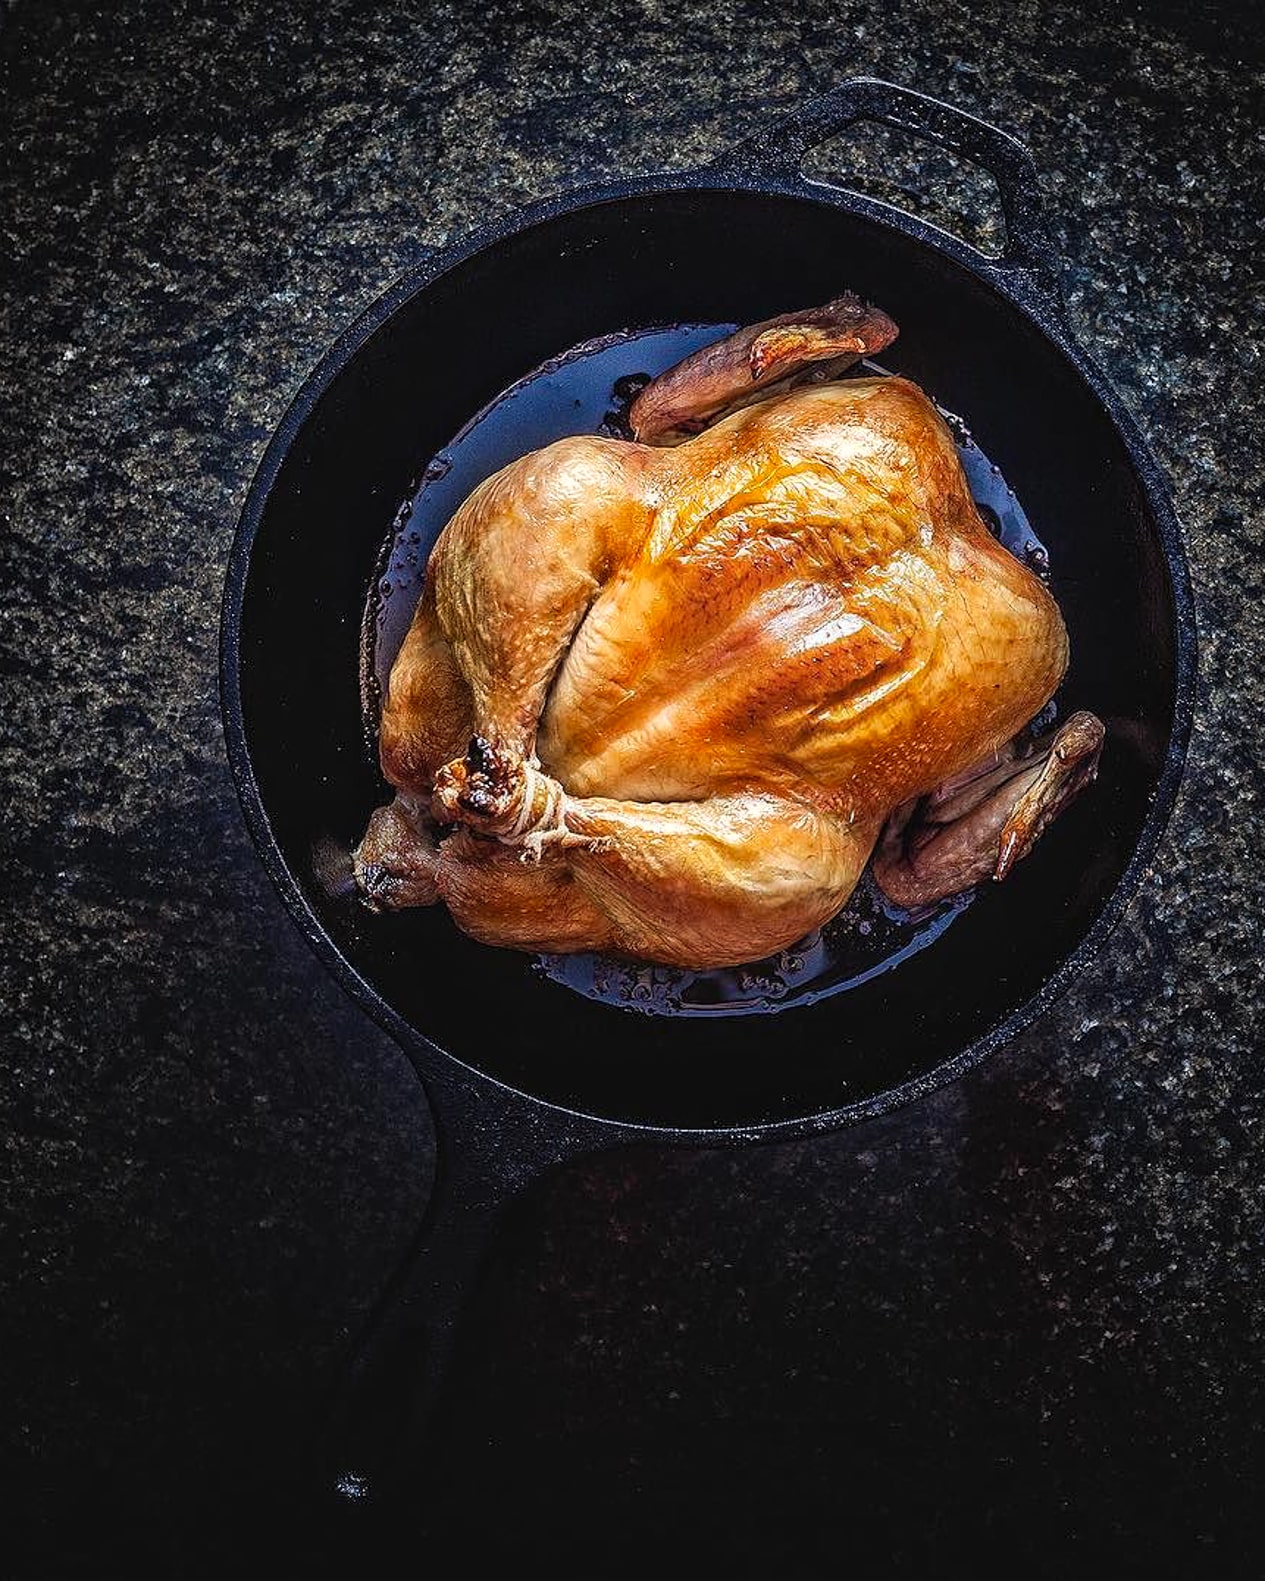
So you’re done with the sous vide step now. It’s been a whole night of super slow cooking… you may just want to keep the cooked shoulder in the fridge until you’re ready… or close to ready but before you serve it, giving it a nice golden crust is a must (not really, you can serve it as is, but it just not that exciting). Pre-heat your oven to the highest temp which hopefully will be around 500F. Pre-heating an oven usually takes longer than what the oven actually says. Give it some time, about 30 minutes to an hour before the pork goes in.
Now place the pork shoulder on a baking rack over a baking pan to catch any drippings. Stick it in the oven for about 20 minutes. Smoke alarms might go off… it’s all good. Gold is about to come out of that oven.
Cube the Pork.
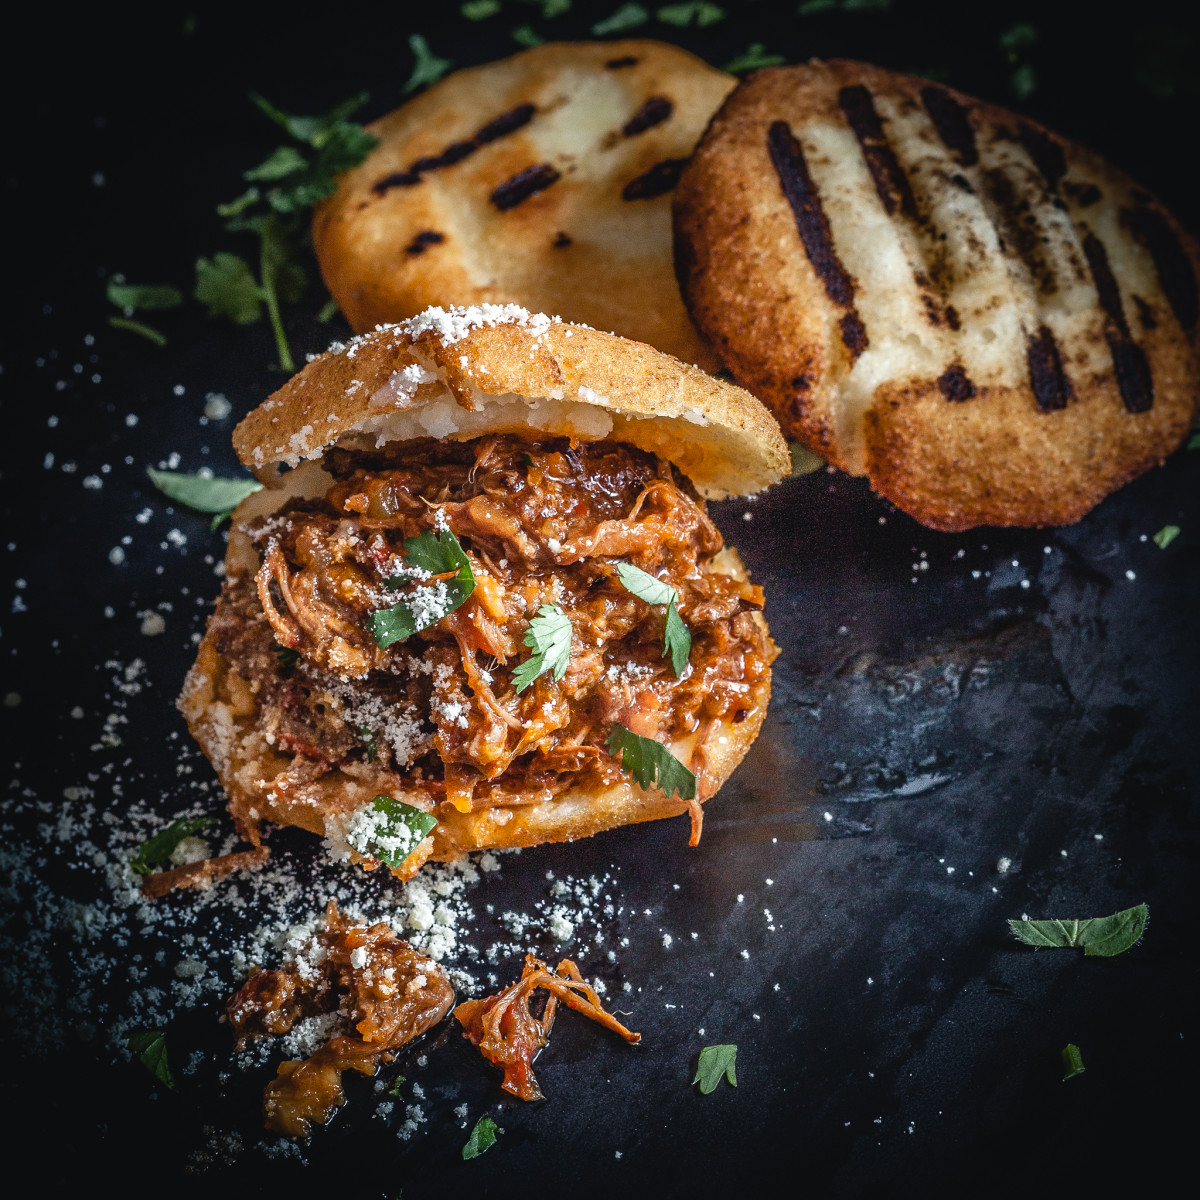
Carnitas is traditionally shredded but cubing it is also an option. Yeah.little cubes. You can serve the crispy fat cap on the side for those not watching their waistline. If you don’t want to serve it but rather save it for later you can store it in the fridge but is going to get soggy. That’s not an issue though as you can crisp it up again by baking it in the oven at 400F for about 10 minutes.
One last toss…
I almost forgot. Once cubed… Toss them a bit in a really hot pan to give them some color. This is optional and a bit of a hassle but I’ve never been against flavor development and it’s rather futile to fight this urge.
Toasting the Tortillas.
This is a personal preference and I personally prefer them toasted. If you have a gas stove, you can roast them directly over the flame (medium-low to low). No gas stove no problem. You can place them in a non-stick pan or griddle over medium-high heat until they get nice and toasted. If you have a grill, this is probably the best approach because you can process more at once. Just get some nice grill marks on them. If you’re like me, then grab that blow torch and go to town. It’s pretty fast and easy. Just make sure the tortillas are on a surface that won’t get damaged. I place them on a cookie sheet over the stove but whatever works for you.
Dealing with the Avocados.
Simply cube the avocados, preferably ones are not too ripe and but if that’s the case, then perhaps skip the cubing and scoop the flesh out with a spoon, mash it, add some lime or lemon juice and spread it over your flour tortilla. It really doesn’t matter whether cubed or mashed. That’s up to you. Adding an acidic agent like lemon or lime juice will slow down oxidation of the avocado preventing them from turning brown and unappealing.
Putting it All Together.
I’m not gonna explain how to do this because that would just be condescending but I sure hope you enjoyed another taco recipe using sous vide cooking. Oh.. finish with some chopped cilantro something I skipped. Because I didn’t have cilantro. Subscribe to thatothercookingblog.com or check out my Instagram for more sous vide cooking! Comment below!
Wanna get more sous-vide cooking guides and cool cooking how-to’s in your mailbox? You know what needs to be done!
We never spam. You should only be getting updates when new content is posted on the site. We also respect your privacy. We don’t share your email address with anyone and you can unsubscribe anytime!


