This dish and I go way way way back in both the preparation and the enjoyment of eating it. You can’t escape it when your grandparents are from Spain. Venezuela (where I’m from) opened the doors to immigrants during WWII and today there is a huge Spanish influence in most aspects of our modern society, art, music and of course, food. Especially the food.
The traditional Spanish omelet is a cooking challenge. You don’t have to be Spanish to nail this dish but you have to be good in the kitchen and by this, I mean a good cook. Onions and potatoes are cooked together and eventually bound by beaten eggs cooked to perfection over low heat… it all happens in the same pan perfectly orchestrated. These omelets tend to be tall, about an inch high. A touch of browning on both sides is a must if you really wanna call yourself an expert.
Making a Spanish omelet is tricky but that’s mainly due to traditional guidelines and expectations. if you stick to tradition, things tend to get a little dicey sometimes and only the force of repetition will be able to help you. If you decide to wander off though… new opportunities for simplification might arise and in our particular case, they will. Let us waste no more time. The easiest Spanish omelet how-to is at the turn of a page. Keep reading!

Why are Spanish omelets tricky?
I’m glad you ask! Cooking eggs is tricky (everybody knows that). Cooking omelets is very tricky (movies even tell you so). Cooking a Spanish omelet is a real pain in the ass. Tradition imposes many constraints in the process of making this thing. Onions and potatoes are to be cooked together. The omelet has to be browned on both sides (not really an imposition but it’s nice when it happens), implying that somehow we have to flip this thing before it is done cooking so browning the other side won’t lead to overcooking the thing. If you have tried making it, you know what I’m talking about. Perhaps you’ve mastered it which is awesome, share your secrets in the comment section or move on to the next Michelin star food blog. I haven’t and I’m tired of it being so damn difficult so I’m gonna cut some corners (lots of thought went into this… trust me, I am a professional… uber driver) and share that with you right now. But before that, let me answer some key questions.
Do onions and potatoes need to be cooked together?
NO. I mean, this one is obvious. There’s no advantage to cooking those 2 together other than speed and reducing the number of pots to wash later. My issue with cooking the 2 together is that onions and potatoes have very different cooking times. I usually start with the onions and then add the potatoes and make it work somehow but cooking the 2 separately is a lot easier and you have more control.
Is the flipping necessary?
NO, but yeah but no but yeah but no but yeah (stop it, Vicky). Because there’s browning involved, you want the golden side of your omelet facing the crowd to look amazing. So, yes, you will need to flip this at some point. If this were a French omelet, you wouldn’t have to deal with the complication of flipping it. Some of these Spanish omelets are thick (about an inch and sometimes more) so flipping becomes almost a requirement in order to set and cook the eggs thoroughly. The thicker the omelet the messier the flip. But is it really necessary to flip these guys? How about finishing them in the oven? that’s what I usually do to deal with thick ones. Otherwise, I keep the thickness to about half an inch or less and the eggs get set without needing to do the flip. Yeah, you’re welcome. Tip number 1.
Is browning required on both sides?
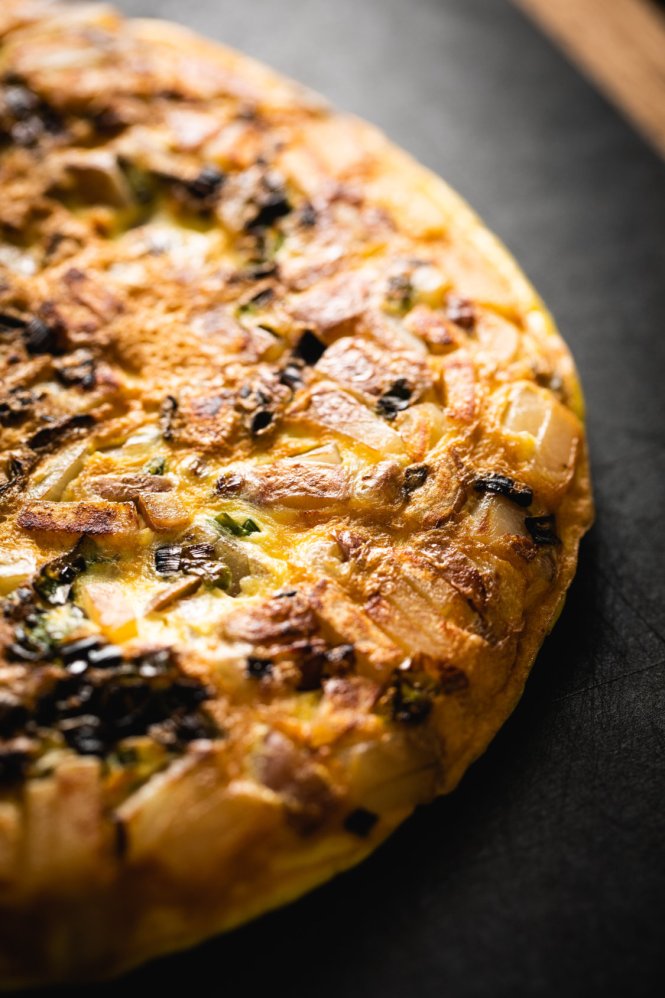
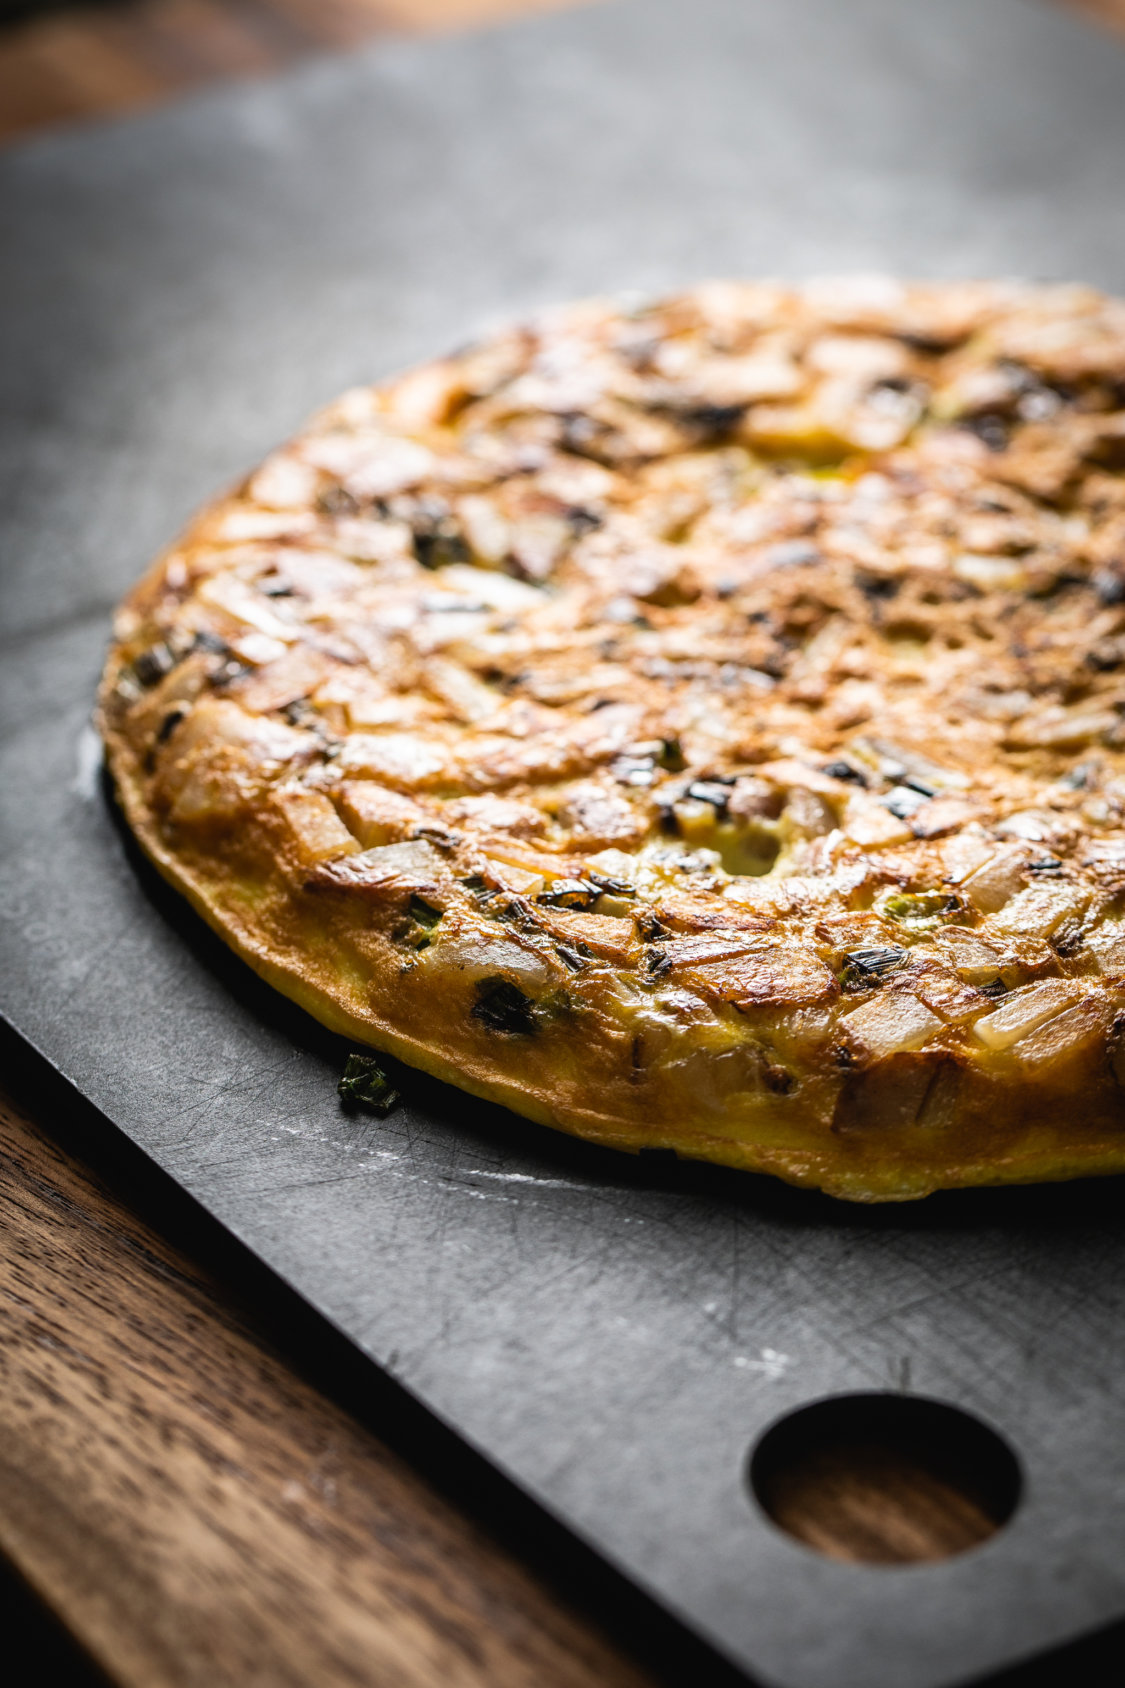
It’s not really required but it is nice to see some browning on both sides, especially if making a taller omelet (One inch or taller). In my opinion, some browning on just one side will do in most cases. If you keep your omelet under 1/2 inch there is really no need to brown both sides which is exactly what we’re going to do here. Tip number 2? I guess.
Ingredients (One person omelet):
1 medium cubed waxy potato like Yukon (russet works but… it’s just not the same)
2 eggs. Beaten (see notes below)
2 green onions. Finely chopped.
1 Tbsp Olive oil.
Salt to taste.
Beating the odds… I mean eggs.
There are many ways to do this and although it may seem like a ridiculously simple thing to do, beating eggs can be improved upon. I grew up trying to master the art of beating eggs with a fork. Eventually, I moved on to a whisk when I started this blog and only recently I finally discovered the blessing of using a container with a screwable lid. SO MUCH EASIER!!! And you won’t develop carpal tunnel anytime soon (oh god, is this tip number 3?… it is). It’s also a lot faster and one less thing to clean (being the fork/whisk) Have you tried washing a whisk by hand? That tool was specifically designed to make you cry while you do dishes.
I usually mix the olive oil into the eggs before cooking (wait what? tip number 4!?… yep). Unorthodox but I love it. The oil and the eggs emulsify together. I just reserve a little to coat the pan before cooking. So add the eggs, about 2/3 Tbsp olive oil and a pinch or two of salt to a container, screw the lid and shake a few times and reserve. You’re done here.

Green Onions… say what?
Ok, this is totally optional but tastes amazing and cooks so much faster. You can stick to regular onions if you prefer. I would suggest using yellow ones, or white ones. Shallots work really nice too. Try not to use red onions though. Those will give a really funky hue to your omelet. I’ve been growing my own green onions at home lately and let me tell you they taste amazing in your Spanish omelet. Chop them finely and cook them in a little bit of olive oil for a couple of minutes over medium heat. Some browning is ok, don’t be shy. Reserve.


The potatoes.
Onions are actually a modern addition to Spanish omelets but potatoes are an unconditional must. I like to cook them in boiling water until fork-tender. Depending on the size of the potatoes the time will change. You can cube them to speed things up if your potatoes are too big. I like working with smaller waxy potatoes and it usually takes about 5 minutes in boiling water. I start the potatoes in the pot with cool water so they don’t overcook on the surface. I cook the potatoes with the skin on as well and leave it in when I make the omelet but that’s up to you. Waxy potatoes have very thin delicate skins. If you go for the mighty russet then I would definitely suggest discarding the skin for a nicer omelet experience.
You can also sous-vide the potatoes which takes any guessing out of the equation. 87C for one hour should do. Cut the potatoes in half or half-inch slices before vacuum sealing. You could sous vide them whole with no bag but I wouldn’t recommend that. I’ve done it but starch and grit might (and will, especially if you do this often) get into your circulator eventually causing issues. So keep the taters in baggies, please.
Once you’re done cooking the potatoes. Cube them small and get ready for the next step.

Bringing it all together.
Get your nonstick pan going over medium-low heat. Add a little bit of olive oil to coat it. You can use those sprayable ones if that’s one you have (I love em). Bring the potatoes and the onions in. Mix well and make sure they lay flat on the pan on an even layer. Add the beaten eggs now, making sure they cover the bottom of the pan entirely. The size of the pan is key here. For a one-person omelet, an 8-inch pan will be big enough. If you double the recipe, make sure to work with a 10-inch pan. If you want to make a bigger omelet you will require either a bigger pan to keep the thickness down to less than 2/3 of an inch (so the flip won’t ruin your life) or check out my tutorial on traditional Spanish omelet making.
Once the ingredients are in, it’s all about patience and attentiveness. Keep a lid on the pan until the eggs set at the surface and then remove it. You can at this point take the heat to low and keep an eye on the price. Using a silicone spatula, take a look at the browning progress by carefully lifting the omelet just enough to see what’s going on. Don’t let the browning go dark. That’s game over… let’s repeat… GAME OVER. You’re looking for a nice light beautiful golden finish. Now get ready for the flip.


The dry flip.
This is not even a real flip. Your omelet should be completely set and beautifully browned on one side. All that is left before enjoying it is the “flip”. And let me tell you… this flip, the dry flip, couldn’t be easier if compared to the wet flip found in most traditional recipes. Make sure the omelet isn’t sticking to your pan. Use a silicone spatula to get under the omelet and release it if need be. Now grab a plate or cutting board larger than your pan’s diameter and place it on top of the pan. Flip. Done. No mess. I’m out. And as anticlimactic as this may seem you have reached the end of our tutorial/omelet making-journey today. Eat plenty. Enjoy! And please leave your comments or suggestions in the comments section down below. I definitely need to get some sleep now. Happy Valentine’s guys day! Love you!

Wanna get more sous-vide cooking guides and cool cooking how-to’s in your mailbox? You know what needs to be done!
We never spam. You should only be getting updates when new content is posted on the site. We also respect your privacy. We don’t share your email address with anyone and you can unsubscribe anytime!

2 comments
The omelet seems to be very delicious. I surely going to try this one. Thanks
just be careful with the flip! 🙂 thanks!!!