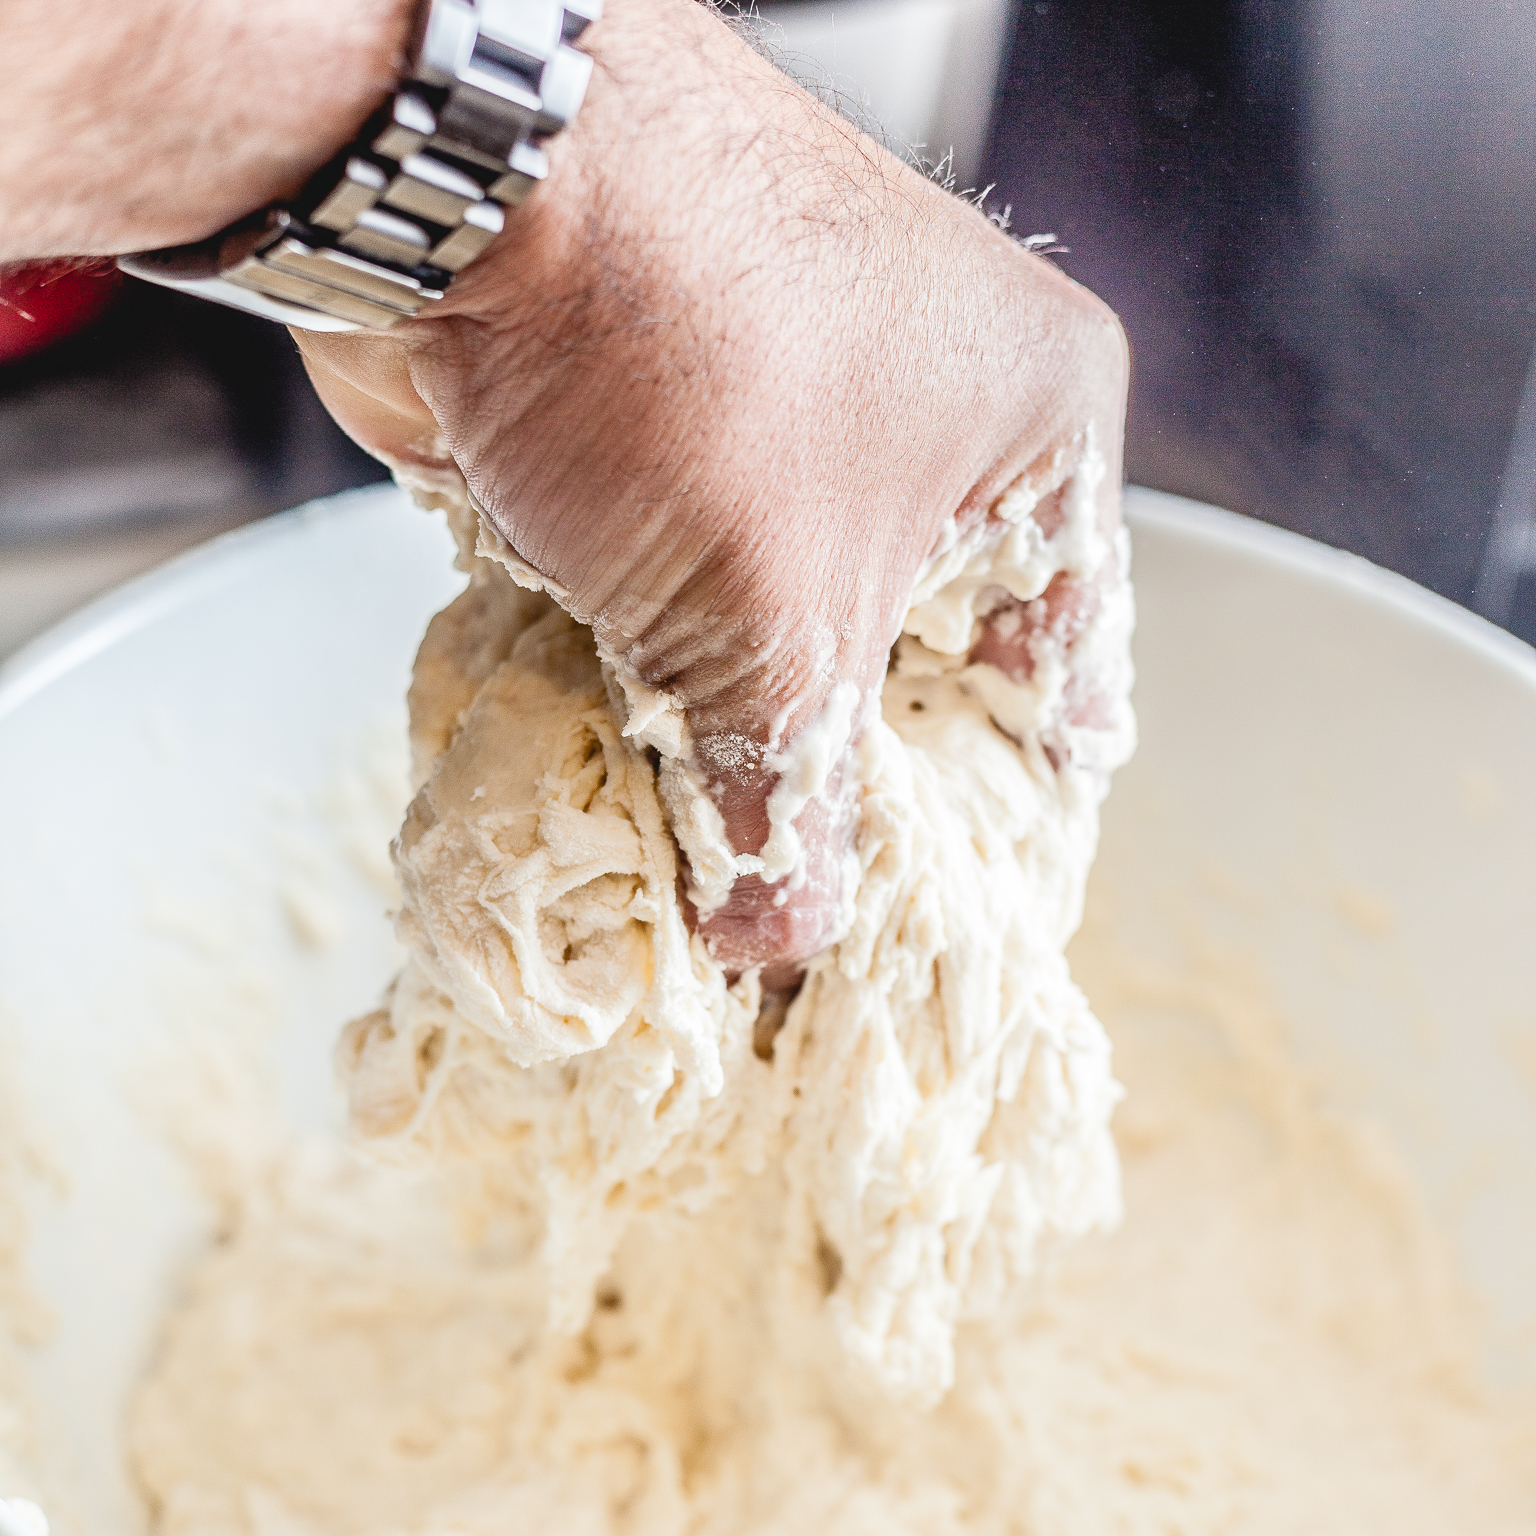
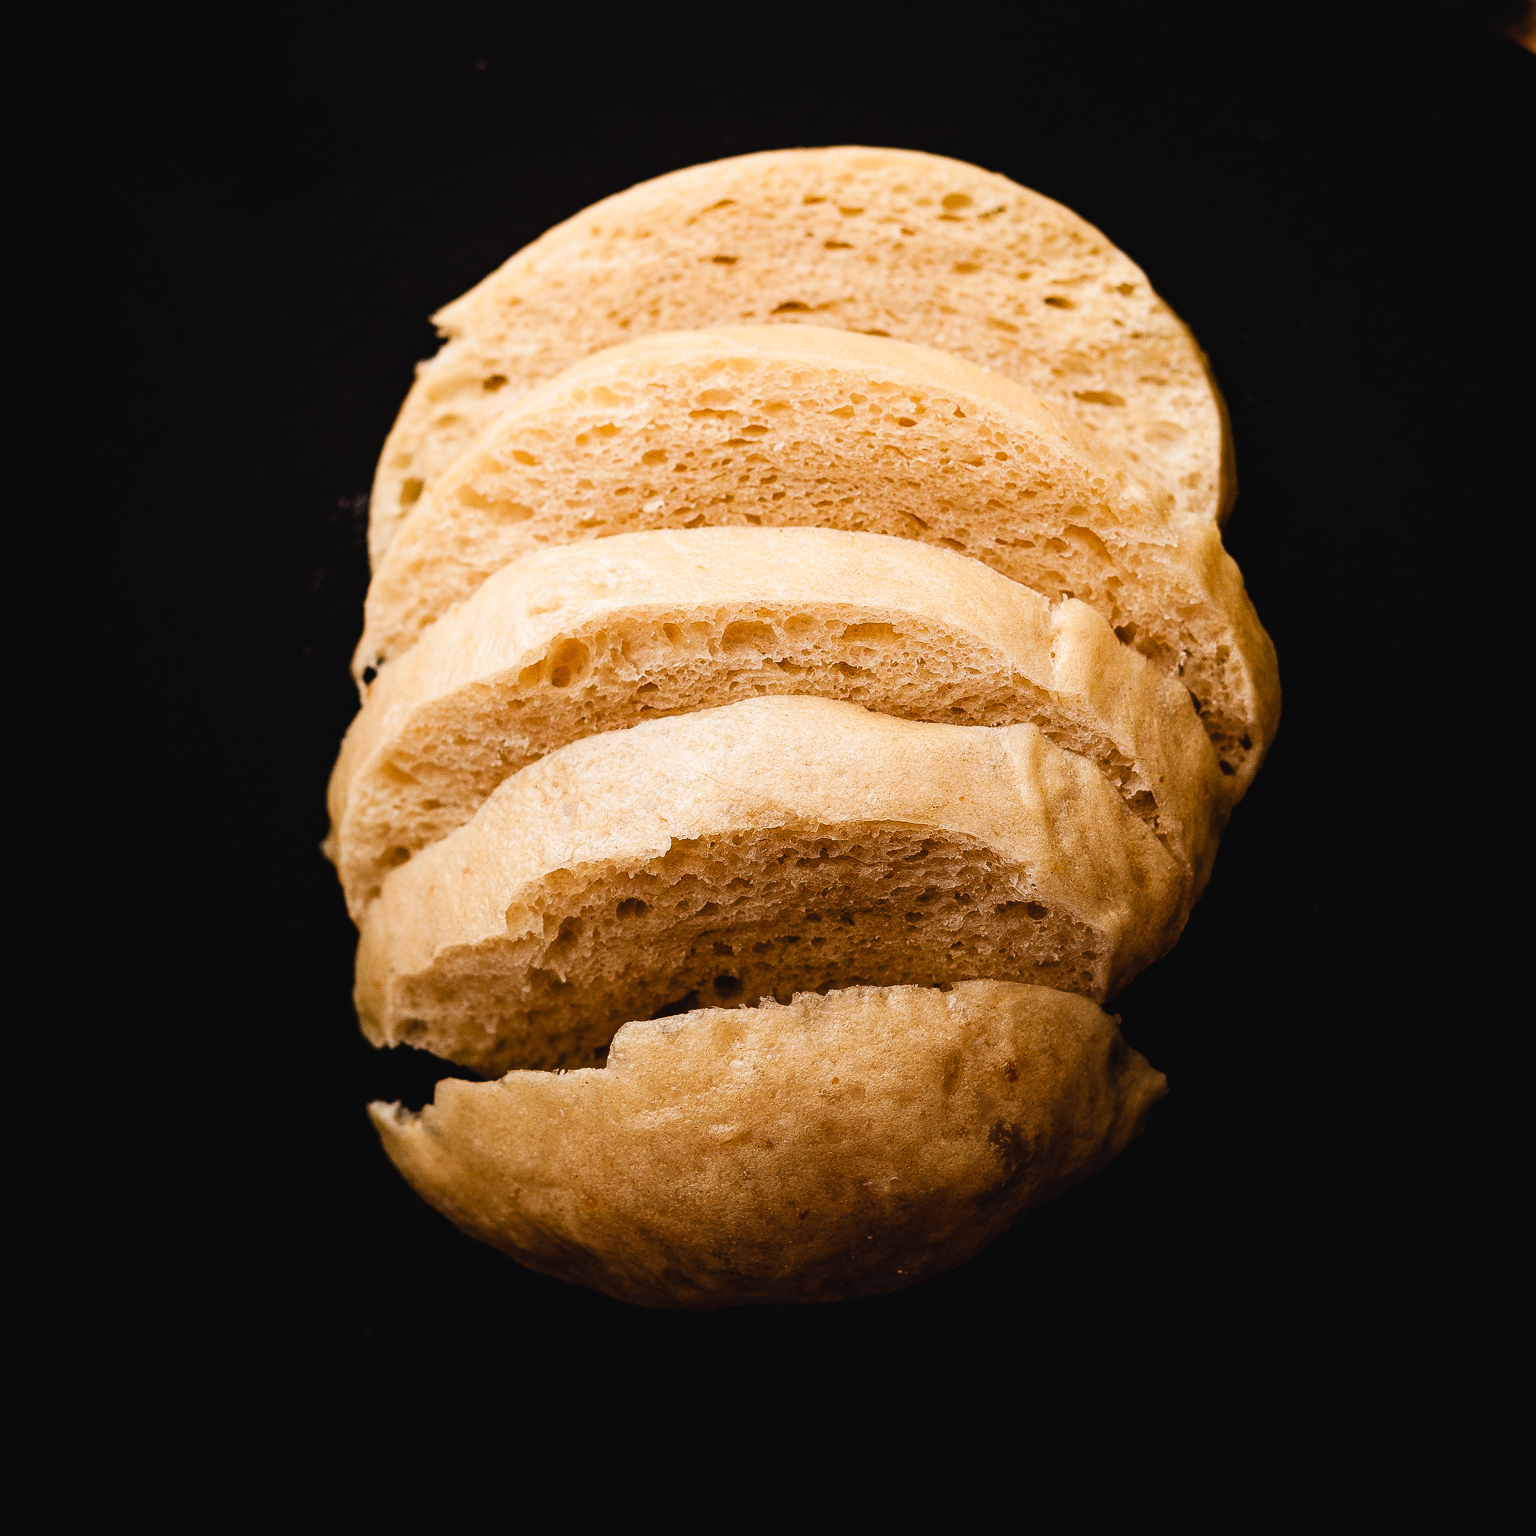
You will be able to find many variations of this bread on the internet but the idea behind it is the same. Skipping the kneading part. No-knead bread requires 12 hours to make…yes, that’s the catch. Takes a little planning but zero physical effort other than moving some bowls from one place to another if that. If you’ve been baking for a while and haven’t tried this, it’s time to test something cool in the kitchen. If you haven’t baked bread before, this is probably the best way to get you started. No-knead bread.

If you’ve worked with regular flour you know gluten can be a mischievous friend. The mechanics of gluten. The reason traditional bread is so airy, puffy and elastic (or dense and boring, depending) is because of the quality of the gluten strands that are traditionally formed by kneading the dough. In pastry making, gluten becomes the enemy that must be kept at bay. Gluten is the reason why pie crust can be tough and hard to roll out… that rubber band effect you’ve probably seen.. so when I heard about this recipe years ago, I was extremely curious to try it out. The recipe is extremely easy so don’t be turned off by those 12 hours. Perfect time to get your much needed beauty snooze.

- 3 Cups of bread flour
- 0.25 Tsp active yeast
- 1.5 tsp salt
- 1.5 Cups of water
- A big bowl for mixing.
- A cast iron dutch oven with the lid.
- A blazing hot preheated oven at 500F, dutch oven should be preheated as well.
- Mix all the dry ingredients in a bowl.
- Add the water
- Mix with your hand for less than a minute until it all comes together
- Bare in mind that this is a very sticky wet dough. No worries, it's part of the trick.
- Cover the bowl and let rise/ferment for 12 hours. (there had to be a catch in there somewhere)
- Flour your work area abundantly
- Take the dough out of the bowl and onto the work area
- Fold onto itself like an envelope and flip over so the seam is at the bottom
- Shape into a disk and let it rise for another hour (this is optional)
- Once the oven and the dutch-oven are ready at 500F.
- Working carefully. Open the oven door.
- Make sure you have access to the dutch oven now. Remove the lid.
- Throw the dough into the dutch oven. Put the lid on and close the oven door.
- Bake for 30 minutes with the lid on
- Bake for another 15 without the lid on
- No-knead bread
- The only thing I don't like about this approach is how fluid the dough is. Makes it almost impossible to handle but after a few takes I'm sure I will get the hang of it.

Wanna get more sous-vide cooking guides and cool cooking how-to’s in your mailbox? You know what needs to be done!
We never spam. You should only be getting updates when new content is posted on the site. We also respect your privacy. We don’t share your email address with anyone and you can unsubscribe anytime!


3 comments
For even more flavor, you could also allow it to ferment in the refrigerator for 5 days instead of 12 hours at room temperature. That is what I most often use for pizza, but haven’t tried making bread with it yet…
yeah, I could try that but I personally don’t it when dough goes too sour. It’s a matter of preference I guess. Sourdough is very popular in the US though but I like bread to be more neutral, less acidic.