I’ve talked about making fermented hot sauces in the past and I will continue to talk about it because it’s an awesome subject. If you love hot sauces and are the DIY type then this one is for you. Fermenting anything at home is extremely simple and that’s no different for making fermented sauces. I’ve made sure the method explained here is the simplest and easiest you can find, period. It also relies on dried chiles which are more readily available than their fresh counter parts. I will go over how to deal with fresh pepper substitutions at the end of the tutorial (super easy). For now let’s assume you have your dried peppers ready to go and a few other things. I will also suggest not using smoked peppers for now. Smoke can hinder/slow-down fermentation significantly so let’s stick to dried peppers. If you’re feeling adventurous or have experience dealing with these go for it, experiment away and hit me back with your findings, Let’s make some hot sauce!

Ingredients (4 including water and salt.. ok 5 if you count the thickener. Dead simple)
(This recipe makes about 750 grams of hot sauce)
300 grams of dried hot peppers. (you can use a blend. I used only arbol chiles but it’s up to you and your capsicum tolerance)
1000 grams of tap water (distilled, purified, spring.. they all work)
30 grams kosher salt (any salt would really work here but I only use kosher salt for everything)
10-20 garlic cloves (how big is your garlic love? mine is pretty big)
2-3 grams Xanthan gum.

Place those dried peppers and the garlic in a jar.
I like using glass for fermentation and I would recommend it but if you have plastic containers that are ok with storing acidic solutions then you should be fine. Like I would be ok fermenting stuff in those distilled vinegar bottles no problem. Still glass just feels right. I’d stay away from metal containers. They can react to acid (lactic acid) and that’s probably not a good thing. Anyways… place the peppers and garlic in the jar and press them down the best you can. I used my fist. If you’re using really hot peppers, please wear gloves. Also note that I left the stems on the peppers. Trust me… there’s really no good reason why you should remove them.

Make that brine.
Mix the water and salt until dissolved. Pour the brine into the jar holding the peppers. The water won’t cover the peppers but that’s fine. You could keep them submerged somehow but I tell you it doesn’t really matter. As long as most of them are under water you should be fine. Talking about water, when I started fermenting stuff years ago, I used to use only distilled water or boiled water… sometimes spring mountain water or any purified water I could get my hands on but tap water in CA is pretty decent and I’ve never had a problem using it. Lately that’s all I ever use. If you’re getting started with fermentation, maybe start with distilled water, or boil your tap water to remove the chlorine and use it once is back to room temperature.
Let go for the next few days. Fermentation kicks in.
What’s cool about this method is that fermentation and reconstitution of the dried peppers happen at the same time. I told you it was gonna be the easiest thing ever, right? So.. just let those peppers sit at room temperature away from direct sunlight for a few days. Don’t close the lid tight because fermentation will release gases that need to escape somehow. You don’t want the jar wide open either because oxygen and bugs might get in there and do funny things. Don’t worry too much about it and just make sure the lid isn’t too tight and check every day. Bubbles will start forming about 3 days into this process. This is what you what. Bubble formation will peak in about 6 days and then start to slow down. Right about then you’re probably ok to move onto the next step. You can leave the peppers to ferment for as long as you want though. Fermentation, once started won’t stop until all the sugars in those peppers have been turned into lactic acid and other yummy stuff.

The tedious part. Pureeing them peppers.
Food processor time. Keep in mind you can only process small batches at a time. If you fill your food processor with all the peppers and pulse … well… the poor thing is gonna choke and spit hot sauce everywhere. Dried peppers even though they have been reconstituted they’re still a bit tough specially since we left those stems on. So… I suggest a bit of patience and add them peppers bit by bit to the food processor and always process each batch until those blades run smooth. You should be done in no time.

The wonderful xanthan gum.
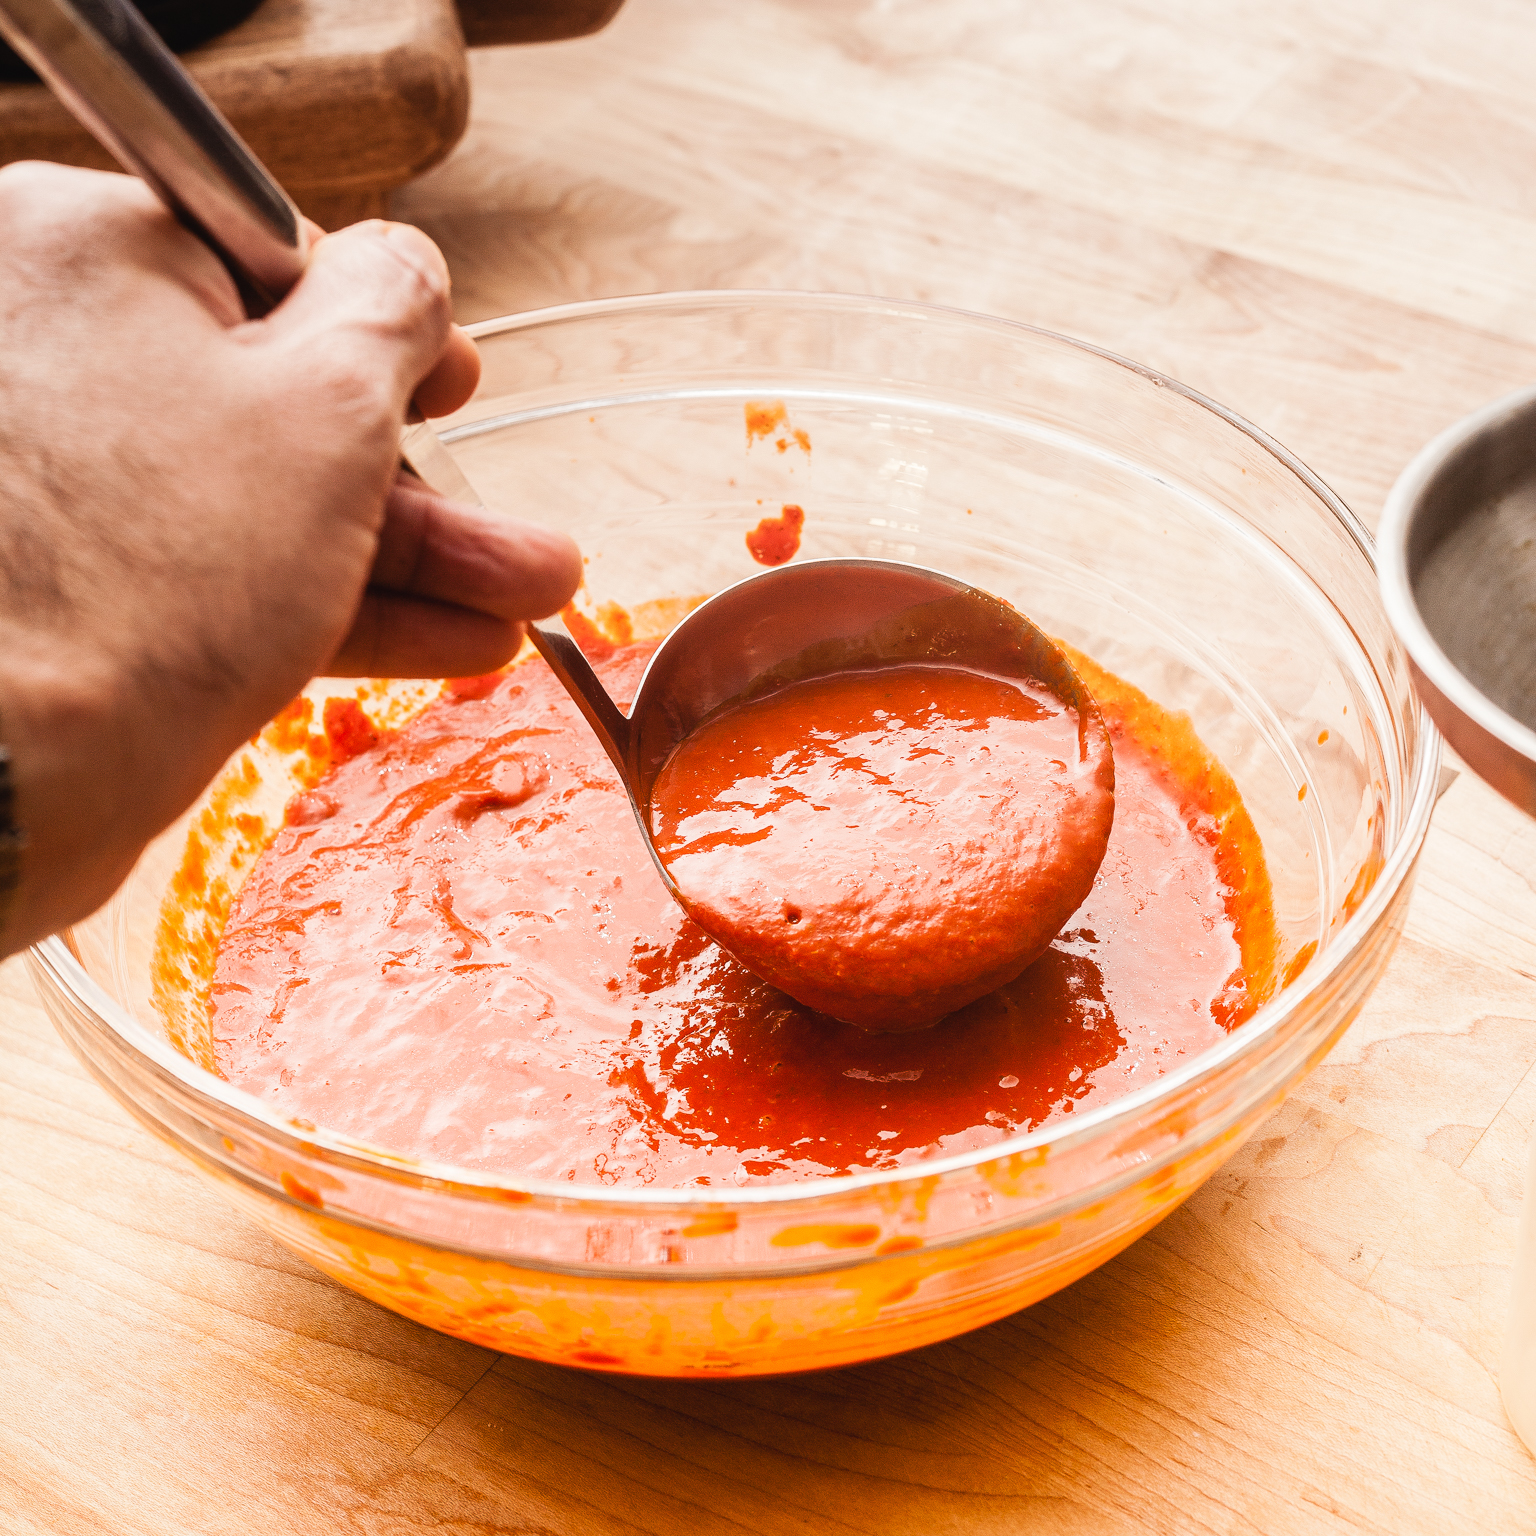
If you want to give your hot sauce a great finish. A sauce that won’t break or run then you have to add a little bit of something. Xanthan gum does an amazing job at it. Doesn’t need to be heated which is awesome and its thickening power is incredible. All you really need to use is about 1% to 2% of the total sauce weight which is something around 1.5 grams in our case. Add the xanthan gum to the food processor and mix in well. Too much gum and your sauce will turn to goo in an instant so be careful there. You can always add it bit by bit and test consistency as you blitz.

The tedious part two. Strain away those solids.
Yeah, once your food processor step is over, it’s time to remove all those seeds and tough bits via straining. We want to make sure the sauce is smooth. I used a pretty standard strainer this time (which isn’t me at all). I usually use my chinois to get that velvety super smooth texture in there. Strain it a few times if your OCD level is as high as mine. I saved the solids in a jar and I will keep them fermenting for a while. I’m sure I can turn them into something later but this is obviously optional.

Bottle it up, amigo.
You’re basically done now. The sauce is ready to be bottled. I have been using jack daniel’s bottles for this cause (which work great… just like any good glass bottle really) but lately I switched to simple squeeze bottles. They’re really practical, cheap and they don’t break plus I don’t have to worry about fermentation gasses building up. Yes, fermentation doesn’t really ever stop as long as the bacteria can find food (sugars) and that’s what’s awesome. The longer you keep your sauce around the better it will taste. It’s all about aging. A week old sauce will taste pretty good. A 2 months old sauce will blow your socks off. So delicious!

About storage.
The whole point of fermentation is the preservation of food when refrigeration isn’t possible. Sure, the flavor is awesome but originally this was secondary. Keep your hot sauce away from direct sunlight (uv light will hinder if not totally kill fermentation). I don’t bother storing my hot sauces in the fridge. It really defeats the purpose and slows down fermentation which can be good and bad. When pickling vegetables, fermenting at lower temperatures is desirable (which is why fermenting during cold seasons yield a better product) but when fermenting sauces I think it’s less of a thing if not irrelevant.
About fermenting time.
How long to ferment for? Well, how are you gonna stop it? A fermented sauce will continue to ferment for as long as there’s nutrients in the sauce feeding the bacteria and that means a very long time. Sure, you can stop fermentation by killing the bacteria. There’s a number of ways to do this but I don’t care about any of them because in my experience, the older the sauce the better it tastes. Complexity is usually a way to describe the character of an older fermented sauce. The spiciness mellows out. Garlic sweeten up. Even the sauce itself becomes more fluid but still retains its structure and doesn’t break or separate.

If using fresh peppers.
Maybe you have bag of fresh peppers and you are ready to get into fermentation. If you’re really this lucky all you have to do is follow the steps described above but make two little adjustments. Don’t add water and shred/dice your fresh peppers before salting. Use the same amount of salt mentioned in this recipe. You might need to add a little water to compensate but I wouldn’t worry too much about it. If the sauce is too thick, water it down to taste. The rest of this tutorial should apply as is.
Upping your hot sauce making game.
How about adding onions and tomatoes? cilantro? parsley? sugar? I wanted to keep this tutorial as simple as possible hence the short ingredient’s list. I also wanted to make a 100% hot pepper sauce. When adding other ingredients your sauce will gain in flavor and complexity, the capsicum concentration will also be less which isn’t a bad thing. When I make habanero sauce for example, I usually add plenty of sweet bell peppers to offset things. I love habaneros but a 100% habanero sauce can be extremely spicy. In any case. Flavor profile is up to you! Happy hot saucing! Leave your questions or comments below!
Wanna get more sous-vide cooking guides and cool cooking how-to’s in your mailbox? You know what needs to be done!
We never spam. You should only be getting updates when new content is posted on the site. We also respect your privacy. We don’t share your email address with anyone and you can unsubscribe anytime!


10 comments
Where’s the part where you talk about checking the pH and making sure it’s at a shelf-stable level to ward off botulism? The pH of peppers is somewhere around 6.5, tap water can vary but I doubt it’s lower than 7 most places. From all of my reading you want your shelf-stable sauces to be below 4.6 if bottle fermenting to be safe. What am I missing? Full disclosure: I’ve never lacto-fermented peppers before, I’ve only done some light canning, but everything I’ve read tells me to keep your pH low so I’m curious as to how that’s accomplished here. I’m about to ferment some peppers myself for the first time so I want to be safe if I’m going to bottle it up and go back to it in six+ months.
So I did some more reading and now know that the fermentation process will bring the pH down, and the longer you ferment the more the pH should drop (otherwise you can lightly ferment then drop the pH with acidic or citric acid) so sorry for my confused comment, but perhaps it’ll help others that stumble onto this.
hi Dustin, I think your question is a fair one. Botulism is a concern in the kitchen. I should post an article about this and then reference it in all my fermentation articles. To answer your question… botulism growth is deterred by acidic and salty environments. A ferment at its early stages is not acidic enough to keep things safe but a high salt content is high enough to do some of the work. If you want to play it SUPER safe, up your salt content to 5% instead of 3%. As food ferments and the pH drops, the environment turns even less hospitable for the bacteria to perform. There are other microbial elements in fermented food that will also keep bad bacteria away. Once pH drops under 4.8-4.6, botulism-causing bacteria has an impossible time reproducing. Most ferments will get there in the first few days. I usually ferment using some fermented ingredients (like garlic) from previous batches to kickstart the process and fast track acidification. Most ferments will eventually reach pH levels around 3.8 and you can add vinegar to seal the deal. If you’re still concerned then you can ferment in the fridge (at a much much much lower pace though). Or you could ferment at room temperature until pH gets to around 4 and continue in the fridge. Look, botulism it is a bitch and if the toxins already exist in the food, there’s nothing we can do about it. We will very likely get sick or worse. Botulism is also extremely rare and linked to low acidity-bad canning practices more commonly, not fermentation. I hope this helps and let me know if you have any questions or need any clarification related to fermenting food at home or any cooking really 🙂
If I wanted to add other ingredients like onions , tomatoes, cilantro do have to adjust the water?
hi Lois, the answer is a soft yes… because depends on how runny you want your sauce. Most vegetables have a considerable amount of water so you would only have to compensate a little bit. You can blend all your sauce ingredients and leave the salt for last. Blend and add water until you get to the consistency you like then weigh the sauce liquid in grams (make sure is just the liquid and don’t include the container’s weight). Multiply that number by 0.03 and that would be the amount of salt you need to get the sauce to 3% salinity which is what you want for good good and tasty fermentation.
Hello. I put Portugal peppers, garlic, salt,sugar and water and blended in a food processor and then poured into a glass jar and it’s been in a room away from sunlight. Is it ok to let it ferment for 5-7 days then cook with vinegar, strain and bottle it?
Hi Tracy! That sounds fine to me. Did you use the proper amount of salt? Salt is what will keep your fermentation process safe from bad molds and bacteria. As long as you have the proper amount of salt in your sauce, you should be safe. You can ferment it for as long as you want. Some white yeasty stuff might form on the surface that smells a bit like cheese but it’s also safe to eat. Remove it if you don’t like it. Thank you!