
As cool as making beef jerky in the microwave might sound…. it really wasn’t for me. It would be great to have a way to eliminate moisture inside of it when drying things in it (here’s an idea, wouldn’t it be great to have a microwave that could remove that evaporated water?)… anyways, The constant opening and closing of the door to allow moisture out, the fact that you can only work in very small batches plus the final texture might not be as appealing as it should, the meat reaches temperatures higher than it would in a dehydrator or in the oven if wasn’t paying close attention,, hence changing the final texture and flavor makes the microwave oven less than ideal for drying meats. Modernist Cuisine , I love the books but I respectfully think that home oven dehydration might still be although archaic, a yummier and better option, and for those who don’t own a dehydrator, the perfect solution. Maybe my microwave sucks which is very possible. The MC curing mix in the other hand…. is DELICIOUS to say the least!! Fish sauce, soy sauce, salt and sugar, that’s it.
Active time: 20 minutes
Inactive time: 3d+4h

Gear:
Cutting board.
Knife.
Non reactive baking dish.
Sauce pan to quickly boil the curing mix.
1 stove burner.
2 roasting pans to dehydrate the meat.
Ingredients:
1000g flank steak, or chuck.

Curing mix:
250g Soy sauce or Tamari.
170g Fish sauce.
45g Sugar.
11g Kosher salt.
Method:
01: put meat in the freezer to harden it a bit, easier to cut.
02: prep curing mix. Boil it in the sauce pan for a minute.
03: pour mix into a baking dish, and cool in the freezer.
03: take meat out of the freezer.
04: cut it into strips along the grain 5mm thick. important.
05: once the mix is cold, place the meat strips in it.
06: make sure the meat is submerged.
07: place a plastic wrap over the baking dish.
08: place baking dish in the fridge for 3 days.
09: place on baking sheets over roasting racks.
10: dehydrate in oven at 185f for 3-5 hours, leave oven door open.
11: remove from oven, place over paper towels on cool baking sheets.
12: finish drying in fridge overnight.
13: vacuum seal and store. you can freeze it you like.

Place meat in curing mix

Cover with plastic wrap and let cure in the fridge for 3 days.

Dehydrate in the oven for about 3-4 hours.

Check for dryness, Jerky should feel chewy and leathery, not crispy.

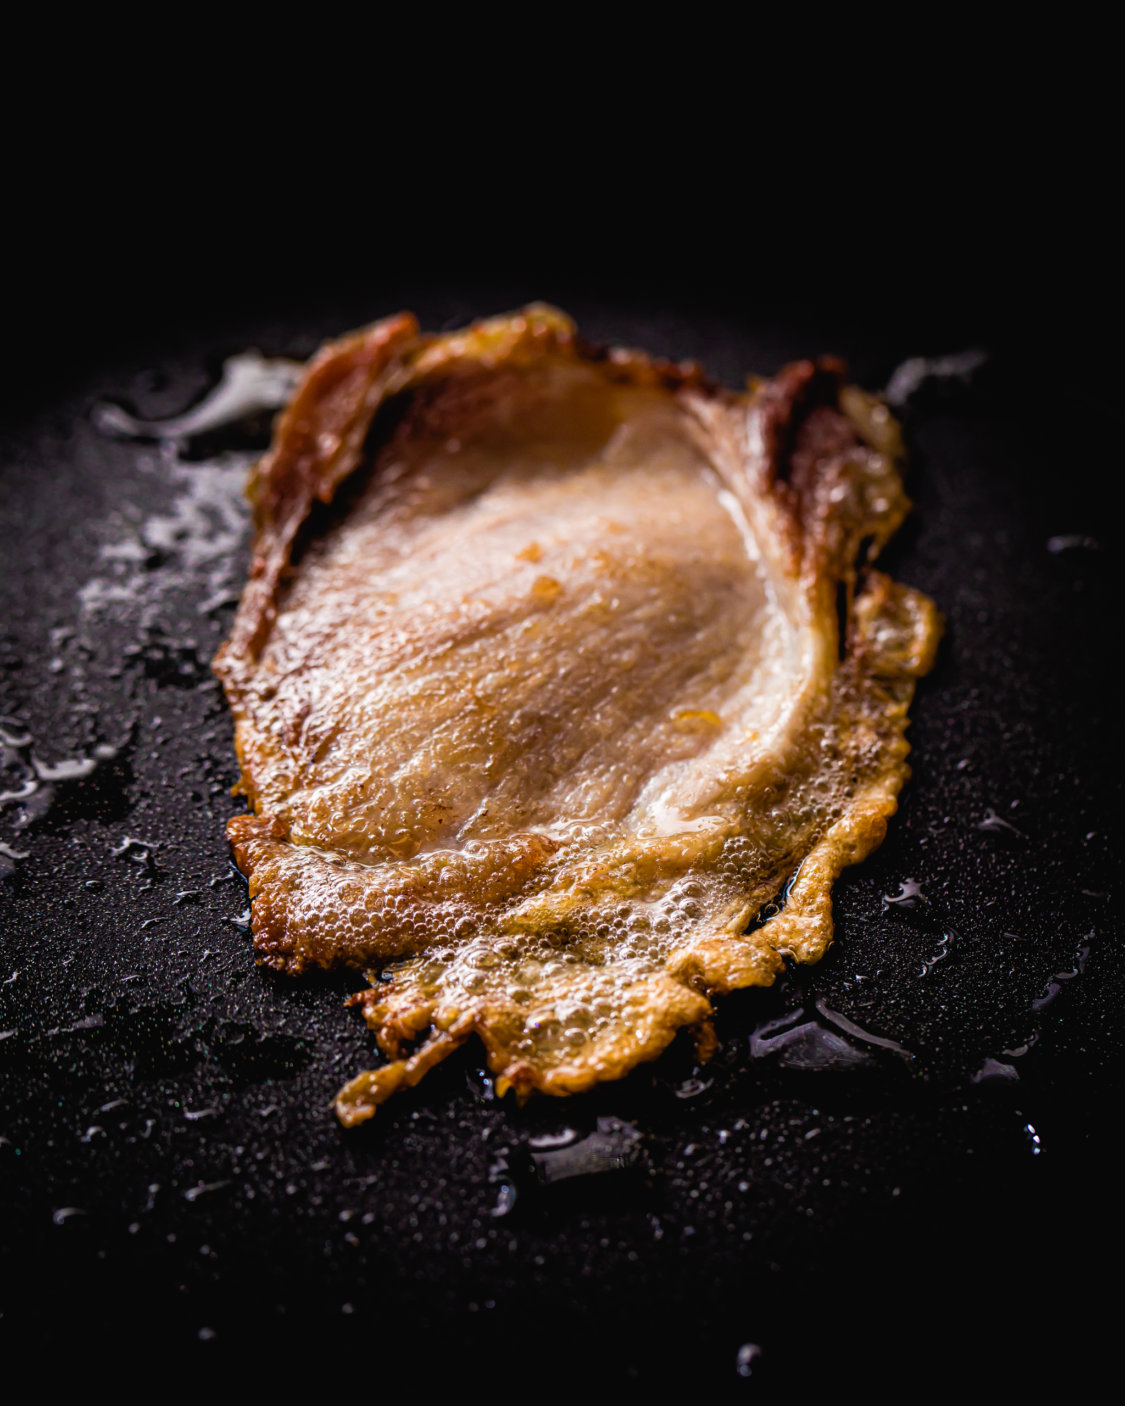
Here’s a closeup of a finished piece.
done.
Wanna get more sous-vide cooking guides and cool cooking how-to’s in your mailbox? You know what needs to be done!
We never spam. You should only be getting updates when new content is posted on the site. We also respect your privacy. We don’t share your email address with anyone and you can unsubscribe anytime!
3 comments
Looks delish!!!
Love Modernist Cuisine, but I do feel that some of the techniques and process are unnecessary for what the finished product is. I try to pull as much useful information as I can and apply it in a way that I know.
Yeah, some of the techniques could seem overkill and geared towards something closer to a food assembly line in which each step is carefully measure to produce the same result over and over again, even though that is virtually impossible unless we also fabricate the ingredients from scratch 🙂 There is an incredible amount of information in this collection that one couldnt find anywhere else. I’ve learned so much, and my cooking has improved as well. I didn’t go to culinary school, I wish I had!