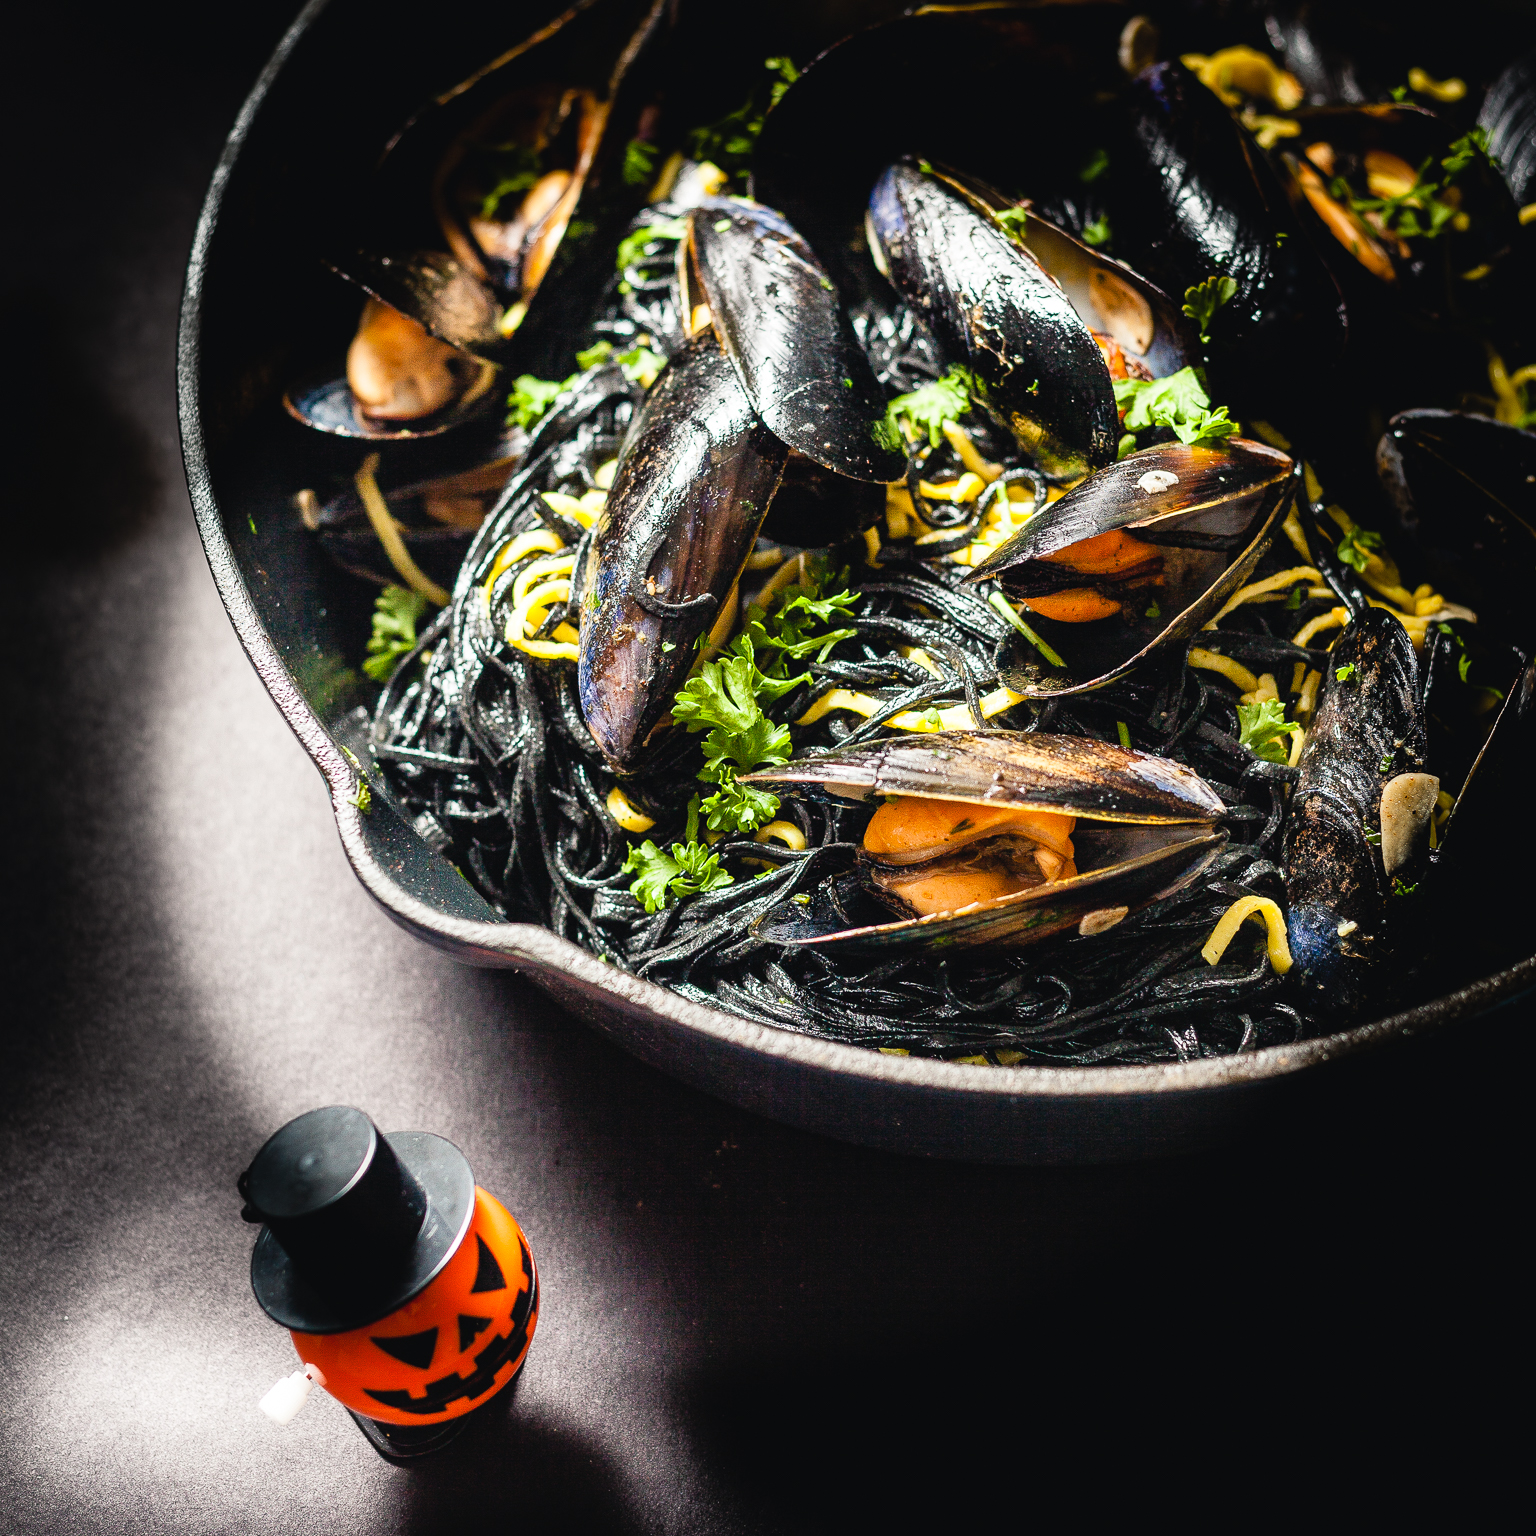
Hey guys, so Halloween came and went… so happy belated Halloween to those who care. I’ve never cooked anything special for this day before so I decided I’d try and make some Halloween themed food to switch it up a bit… which really is more about making something up that matches some colours than it is about cooking anything traditional during this time. I didn’t want to just throw a bunch of candy in a basket and take a photo either… which would have been more fitting and would have been ok except for the fact that October 31st is also my girlfriend’s birthday, I had (willingly… or more like… yay, another excuse to cook something!!!) to prepare something a bit more elaborate. I also just recently bought the kitchenAid pasta maker attachment, not that I need any excuses to use it because I’m totally obsessed with that thing.
Haunting choices.
Anyways, squid ink and saffron easily came to mind (actually for an ingredient so not popular in the US it can be actually commonly found during Halloween). These two ingredients I’m pretty familiar with and I love them both since forever. Calamares en su tinta (stuffed squids cooked in their own ink) comes with super fond childhood memories, and of course saffron. I knew I could get intense yellow notes on my pasta and the spooky blackness but what about that orange? I wasn’t gonna do butternut squash or pumpkin… which would have been fitting… but…. not sure how well it would pair with squid ink to tell you the truth so I went with mussels. Their bright orange flesh was exactly what I was looking for. You know I love garlic. A lot. And as you know, garlic… not only goes perfectly with mussels but there’s that whole vampire thing too and one must protect oneself in times like these. Spoooooky times!!!

Ghostly Ingredients:
Squid ink pasta:
350g 00 flour
3 whole eggs
60g squid ink
1 tsp salt
Saffron pasta:
400g 00 flour
0.3g saffron strands (boiled in about 2 Tbsp of water)
3 whole eggs + 2 yolks
1 tsp salt
Mussels:
20 fresh live mussels. Beards removed.
4-6 garlic cloves. Thinly sliced.
1Tbsp EVOO
Chopped parsley to taste
Salt and Pepper to taste.
A generous splash of dry vermouth

Some notes on spooky pasta making:
I’m providing a recipe for the 2 fresh pastas I made but I’d like to point out that making pasta is an art more than a science… ok, there’s a ton of science in it too but every flour brand will require different amounts of liquid to hydrate properly so use the recipe as a guide but be willing to adjust your flour/liquid ratio if needed. It’s very hard to explain exactly when or how to know if adjusting is necessary… practice and maybe even try to always use the same flour brand to make it easier over time.
KitchenAid… this mysterious godsend:
Without one of these you can make pasta but it’s a LOT more work. I mean, by kitchenAid I’m referring to any mechanized way of kneading, rolling and cutting pasta. When I say without.. I’m referring to doing everything by hand. I’ve done it… it was a great learning experience and if my life depends on it I might do it again, otherwise… hello kitchenAid.
Some tips on spooky pasta making:
Basically simply add all the dry ingredients to the mixing bowl and sift for a couple of minutes then add the liquid stuff and knead with the dough hook until it comes together plus an extra 15 minutes to get that gluten really worked up.
Wrap in plastic… yes, wrap. Store in the fridge for at least 30 minutes to allow the gluten strands to unwind a bit. Will make the rolling process a lot more enjoyable. The pasta will be less springy and a lot more malleable.
Last, cut the dough ball in half. Flour your work area generously and keep extra flour for extra dusting if needed. Get that pasta roller attachment on and laminate the pasta on the first setting a few times and by this I mean, run the pasta through, fold in half. Run it again. Fold a couple more times and run it again. Ok, you’re done laminating now on to higher settings Roll your pasta through once or twice in each setting all the way to number 6. That’s pretty good for noodles. Working with the kitchenAid takes some practice but I think after 2 or 3 times you’ll be making pasta like a nonna.
The spooky mussels!
This is the easy part of the deal. Cooking mussels requires zero skills as long as you understand they cook SUPER FAST. Nothing worse than a rubbery overcooked mussel. Nothing.
I love a heavy cast iron pot so I will suggest using one but hey, use whatever you like. Over medium heat add your Tbsp of EVOO, allow to heat up. Add the garlic and the mussels. The garlic won’t burn… the mussels will quickly release a ton of brine and that brine, once reduced is the secret of this recipe’s success so pay attention there. Add the splash of vermouth, you could ignite it and have some fun… or not… doesn’t really change things much either way. Add salt, pepper, toss, make sure that garlic is getting everywhere. By now all the mussels should have opened. If you see some that don’t open… give them a chance… a few more minutes but if they truly don’t open.. maybe better to throw them away. They’re dead and who knows for how long. Keep reducing. Never cover this pot. You want the this mussel brine reduction very concentrated and delicious.

Time to cook that terrifying pasta!
Ok, so here’s my advice. If you’re cooking 2 different kinds of fresh pasta don’t cook them together. Specially if one of them is squid ink pasta.. because of all that “squid ink tinting everything in its path” thing. Either use 2 boilers or just do the saffron one first and then the squid ink one. The cooking times… it’s about 4-5 minutes with fresh pasta but I test as I cook it just in case. Once you’re happy with the pasta… strain and get ready to toss it all up.
Scary assembly times!!!!
There’s no escape now. Everything has to go into the same pot and be tossed up. I have to say that my pasta recipe probably makes twice the pasta you will need for this dish but that’s not a bad thing. You can save half of each, wrapped in saran and stored in the freezer for months or do what I did and hang it to dry in the kitchen for later use. So… toss everything up in one big pot, adjust salt… hopefully you won’t need to… and add the parsley. I like to add some parsley during the cooking to infuse its flavor more efficiently but also love the taste of raw parsley. Some people don’t appreciate parsley as much as I do… they might consider it too scary. Happy Halloween guys! Yes, that’s it!

Wanna get more sous-vide cooking guides and cool cooking how-to’s in your mailbox? You know what needs to be done!
We never spam. You should only be getting updates when new content is posted on the site. We also respect your privacy. We don’t share your email address with anyone and you can unsubscribe anytime!


3 comments
Hi Paul, like what you did with colors here!
hey Stefan! I’ve been gone again. Thanks so much! I’ll catch up with your blog in a bit. Take care